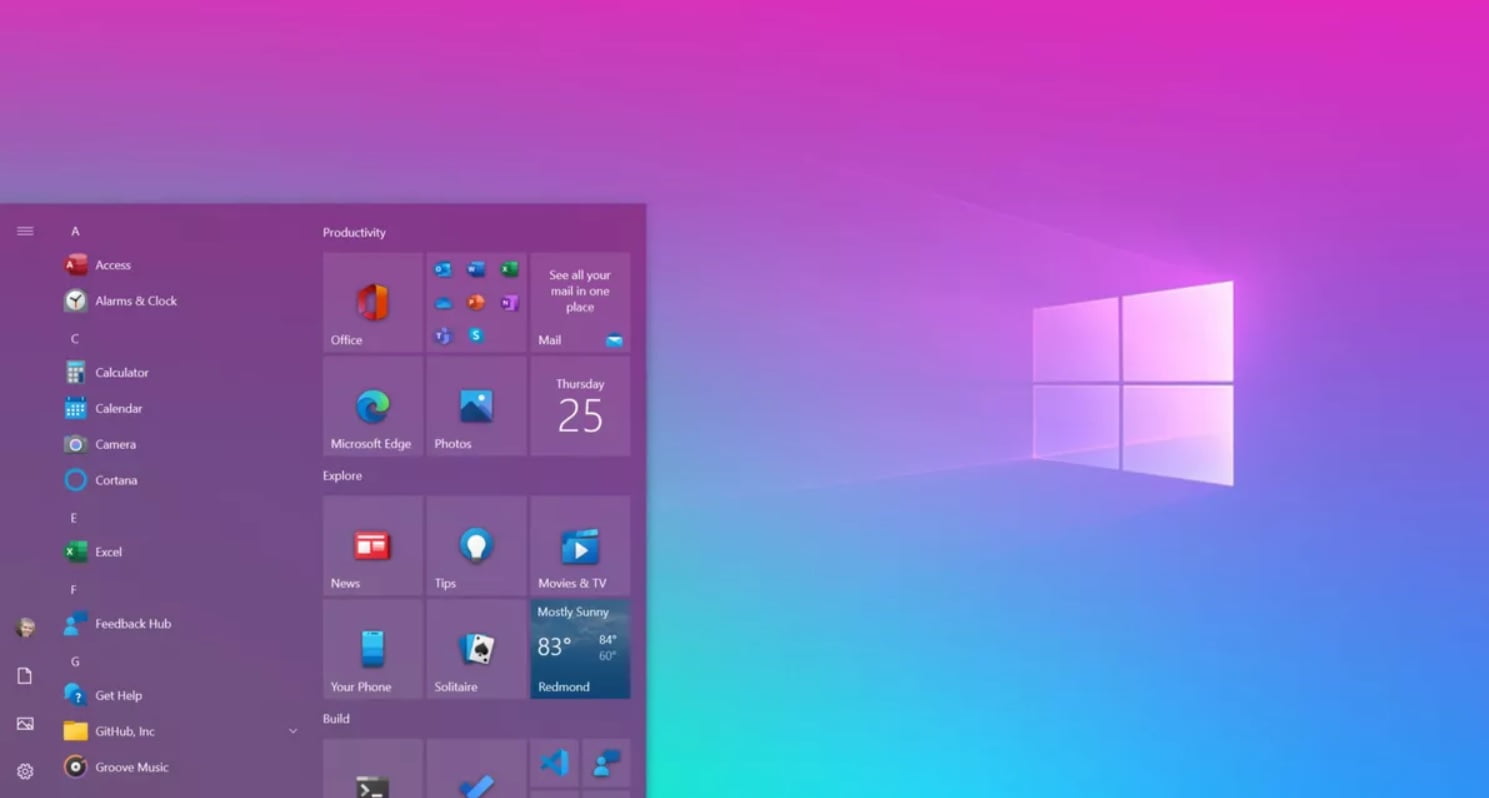
Today we are going to talk about Windows 10 Start Menu, you can add or remove shortcuts easily, and keep reading to learn how to do it. When we talk about the level of customization on our Windows 10 computers, we always think about changing the wallpaper or the theme used, but another aspect that we can change is the applications and folders that are listed in the Start menu.
The applications that we don’t use may appear in that list. Something that we can correct if we edit the folders and applications listed in the start menu according to our needs and preferences.
Windows 10 Start Menu: How to add or remove shortcuts?
To customize the start menu list the first step we have to take is to access the “File Explorer”, either by clicking on the shortcut or by typing “File Explorer” in the start menu search box.
Once we are in the “File Explorer” we are going to use the address bar that appears in the upper zone of the screen. We will ignore the content that appears and we are going to write the following address: C:\ProgramData\Microsoft\Windows\Start Menu\Programs and then press enter.

We will see a list with the folders and shortcuts that appears in the start menu. At this point, you will be able to create folders or eliminate them according to your needs.
We have both applications and shortcuts, as well as folders. If we open the folders we will see how the shortcuts of each app appear. You can remove any of them or you can easily add new shortcuts, folders, etc.


