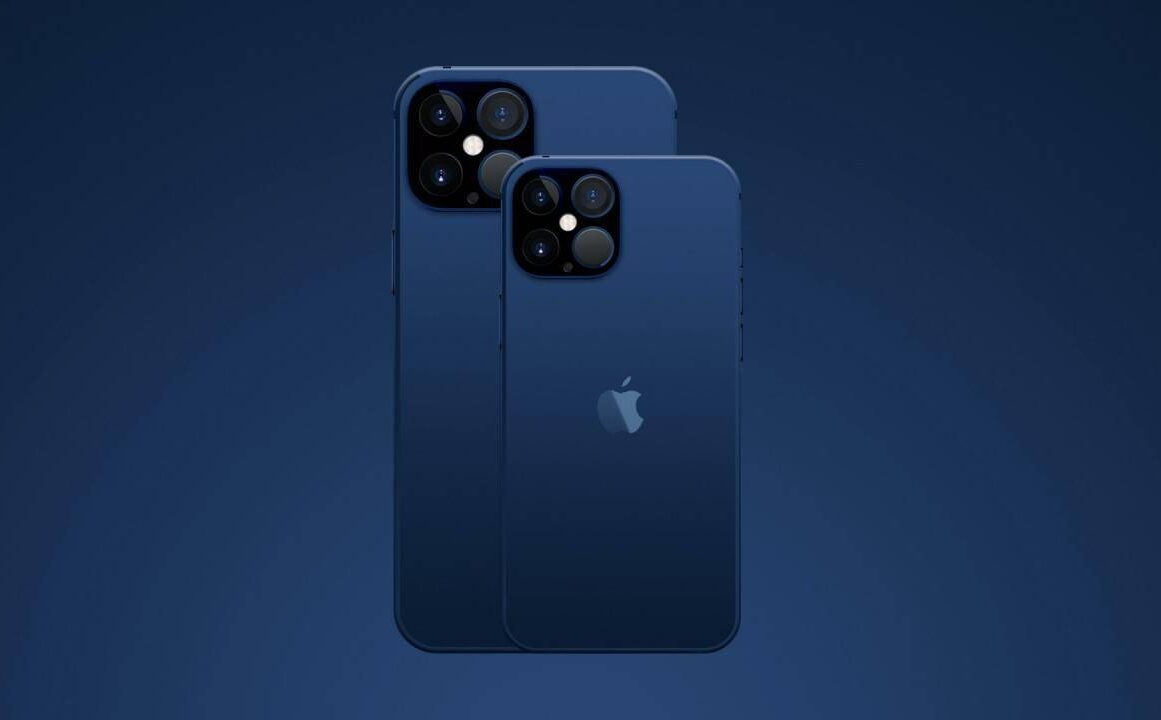
If you don’t know how to enable and use Apple ProRAW format on iPhone, we are going to help you out in this guide. The arrival of iOS 14.3 brought some new features one of the most interesting ones is the Apple ProRAW format. An improvement to the photography experience that allows us to opt for a format that combines the information of the standard RAW format with the computer image processing by the iPhone.
- How to set iPhone to deactivate do not disturb mode by location?
- How to export all the contacts from iCloud?
- How to create a character in Cyberpunk 2077 with best attributes, skills, and builds?
This format allows the user to get more possibilities when controlling and managing aspects such as exposure, color, or white balance of the images we make with our mobile cameras However, it is only available in the iPhone 12 Pro and the iPhone 12 Pro Max.
How to enable and use Apple ProRAW on iPhone?
The Apple ProRAW format does not improve the photos but it offers more control over all parameters, facilitating the subsequent editing once the photo is taken. Of course, Apple ProRAW is disabled by default but it is really easy to activate.
To activate the Apple ProRAW format on the iPhone we must move to the “Settings” of the phone and look for the section “Camera”. Within this section, we will see different parameters and one of them is “Formats.”

Once we are inside, at the bottom of the “Formats” section, we will see the “Apple ProRAW” tab, which is the one we must activate in order to use this format.
In addition, when we activate ProRAW format, we will see the icon “RAW” in the camera app so we can activate and deactivate that feature more easily.
However, it should be noted that each image in this format increases considerably in size, reaching up to 25MB per image.


