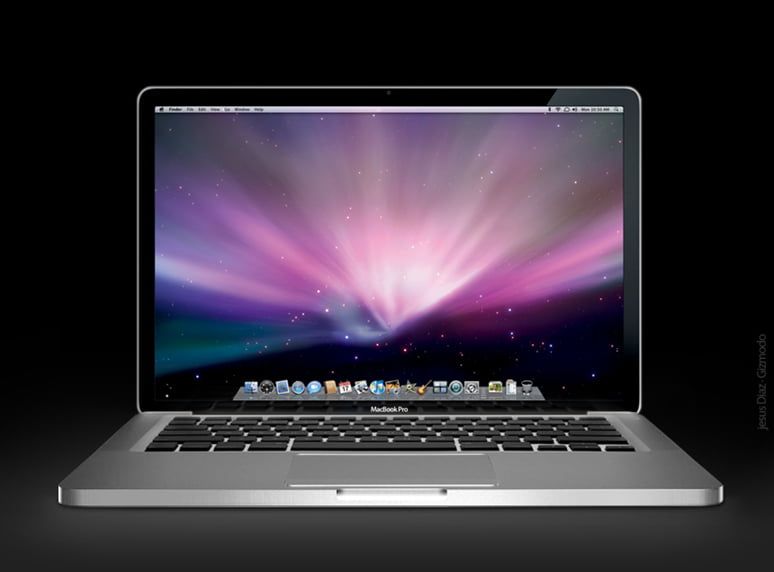
How to customize the TouchBar on MacBook Pro? TouchBar offers many options that can save your life. We can change the buttons that appear, we can change their functions etc. And we are going to show you how. There are several configuration options for the TouchBar. Even though this is a personal preference, in this article we will propose those we consider most useful.
- How to rename Finder tags on Mac?
- How to do privacy and security settings on iPhone? [iOS 14]
- How to fix battery consumption issues on iPhone? [iOS 14]
How to customize the TouchBar on MacBook Pro?
What do we see in the TouchBar? By default, we will see two things: the controls of the app and the Control Strip. In addition, we can configure TouchBar. When we press the fn key, it expands the Control Strip to show us the rest of the options. The steps are the following:
- In the Apple menu we choose System Preferences.
- We enter the Keyboard.
- In the section called “The Touch Bar shows” we choose the “controls of the app”
- Next to this section activate Show Control Strip.
- Underneath, in “Press the fn key to” choose “Expand Control Strip”
- The fn key can play an important role in the use of the Touch Bar. Certain functions that require us to expand the Control Strip to access them become almost a “fn + […]” keyboard shortcut.
Customizing the sections
We can configure the three sections of our Touch Bar to show the buttons and options that suit us best. In the case of the app controls, the way to customize them is in the app itself. Normally in the View menu the option Customize Touch Bar appears, each app can offer different options for customization or none at all.

As for the Control Strip, either expanded or in its reduced version, the options are offered by Apple and we can customize them by following these steps:
- In the Apple menu we choose System Preferences.
- We enter the Keyboard.
- Enter the Keyboard tab.
- We click on Customize Control Strip.
- You will see on the screen all the button options that you can place on the Control Strip when it is folded, remember that the limit is four elements.
How to customize the TouchBar on MacBook Pro and how to add an element? We simply click and drag it to the area of the Touch Bar that interests us. We will do it as if the mouse had to “jump” to the Touch Bar from the main screen. If we have already chosen four buttons we will see that the new one we want to drag will replace one of the existing ones. To rearrange the buttons we have, although we can do it with the mouse, the easiest way is to do it with your finger directly on the Touch Bar.
Within this customization mode, if we want to customize the rest of the Control Strip, we simply have to expand it. We will see more options appear on the screen that we can add and place with the same system we just saw.
Easy, isn’t it? Thanks to these easy steps you’ve learned how to customize the TouchBar on MacBook Pro.


