Apple offers a wide variety of accessibility tools across its product line, and a new capability in iOS 17 will assist people who require a voice-over. The Personal Voice feature on the new operating system is a great feature for many people, and today we will explain what it is and also how to use Personal Voice.
The iPhone 14 should continue to function well for many years to come because Apple is dedicated to software updates. Due to the fact that an unprotected device normally won’t last you as long, if you intend to purchase an iPhone 14, think about including a cover in the package.
However, software upgrades don’t just give you the most recent bug fixes and security patches. They also add additional capabilities that boost the power of your already potent device. As an illustration, consider the Personal Voice function found in iOS 17 and iPadOS 17. What is the purpose of this addition, and how do I use it? Let’s investigate.

What is Personal Voice on iOS 17?
An accessibility feature called Personal Voice was initially made available in iOS 17. This product enables you to harness the power of AI in useful, beneficial ways. In essence, you get to engineer a synthetic version of your voice that can read the words you type.
For those at risk of losing their voices, this is beneficial. A person can continue to talk in the future even if they lose the capacity to do so with their tongue by keeping a digital generator that copies their tone. Additionally, it comes in handy for those who have trouble speaking or find it tough to do so constantly.
According to Apple, Personal Voice can be a great help to those who have trouble speaking owing to diseases like ALS (Amyotrophic Lateral Sclerosis) or other comparable disorders. They are able to maintain their individual voices and communicate more easily as a result.
In other words, Personal Voice uses on-device machine learning to analyze recorded audio clips to create a personalized voice model directly on the user’s iPhone that accurately mimics their unique voice.

iOS 17 feature: How to use Personal Voice on iPhone and iPad
The Personal Voice is rather easy to use, but first, you need to get it ready. To do that, you need to train your phone on your voice so that it can successfully apply your voice to the feature.
- On your compatible iDevice running iOS 17 or later, open the Settings app.
- Visit the accessibility section.
- Select Personal Voice.
- Select “Create a Personal Voice” from the menu.
- Utilize Face ID or Touch ID to confirm your identity.
- Tap Continue.
- Give your voice a name, and when finished, tap Continue.
- To train the ML model, you will be required to read 150 phrases in a silent environment. It ought to take 15 to 20 minutes.
- Your iDevice must remain locked and powered on after you’re finished in order for it to produce the Personal Voice.
- You’ll receive a notification from iOS/iPadOS when the Personal Voice is prepared.
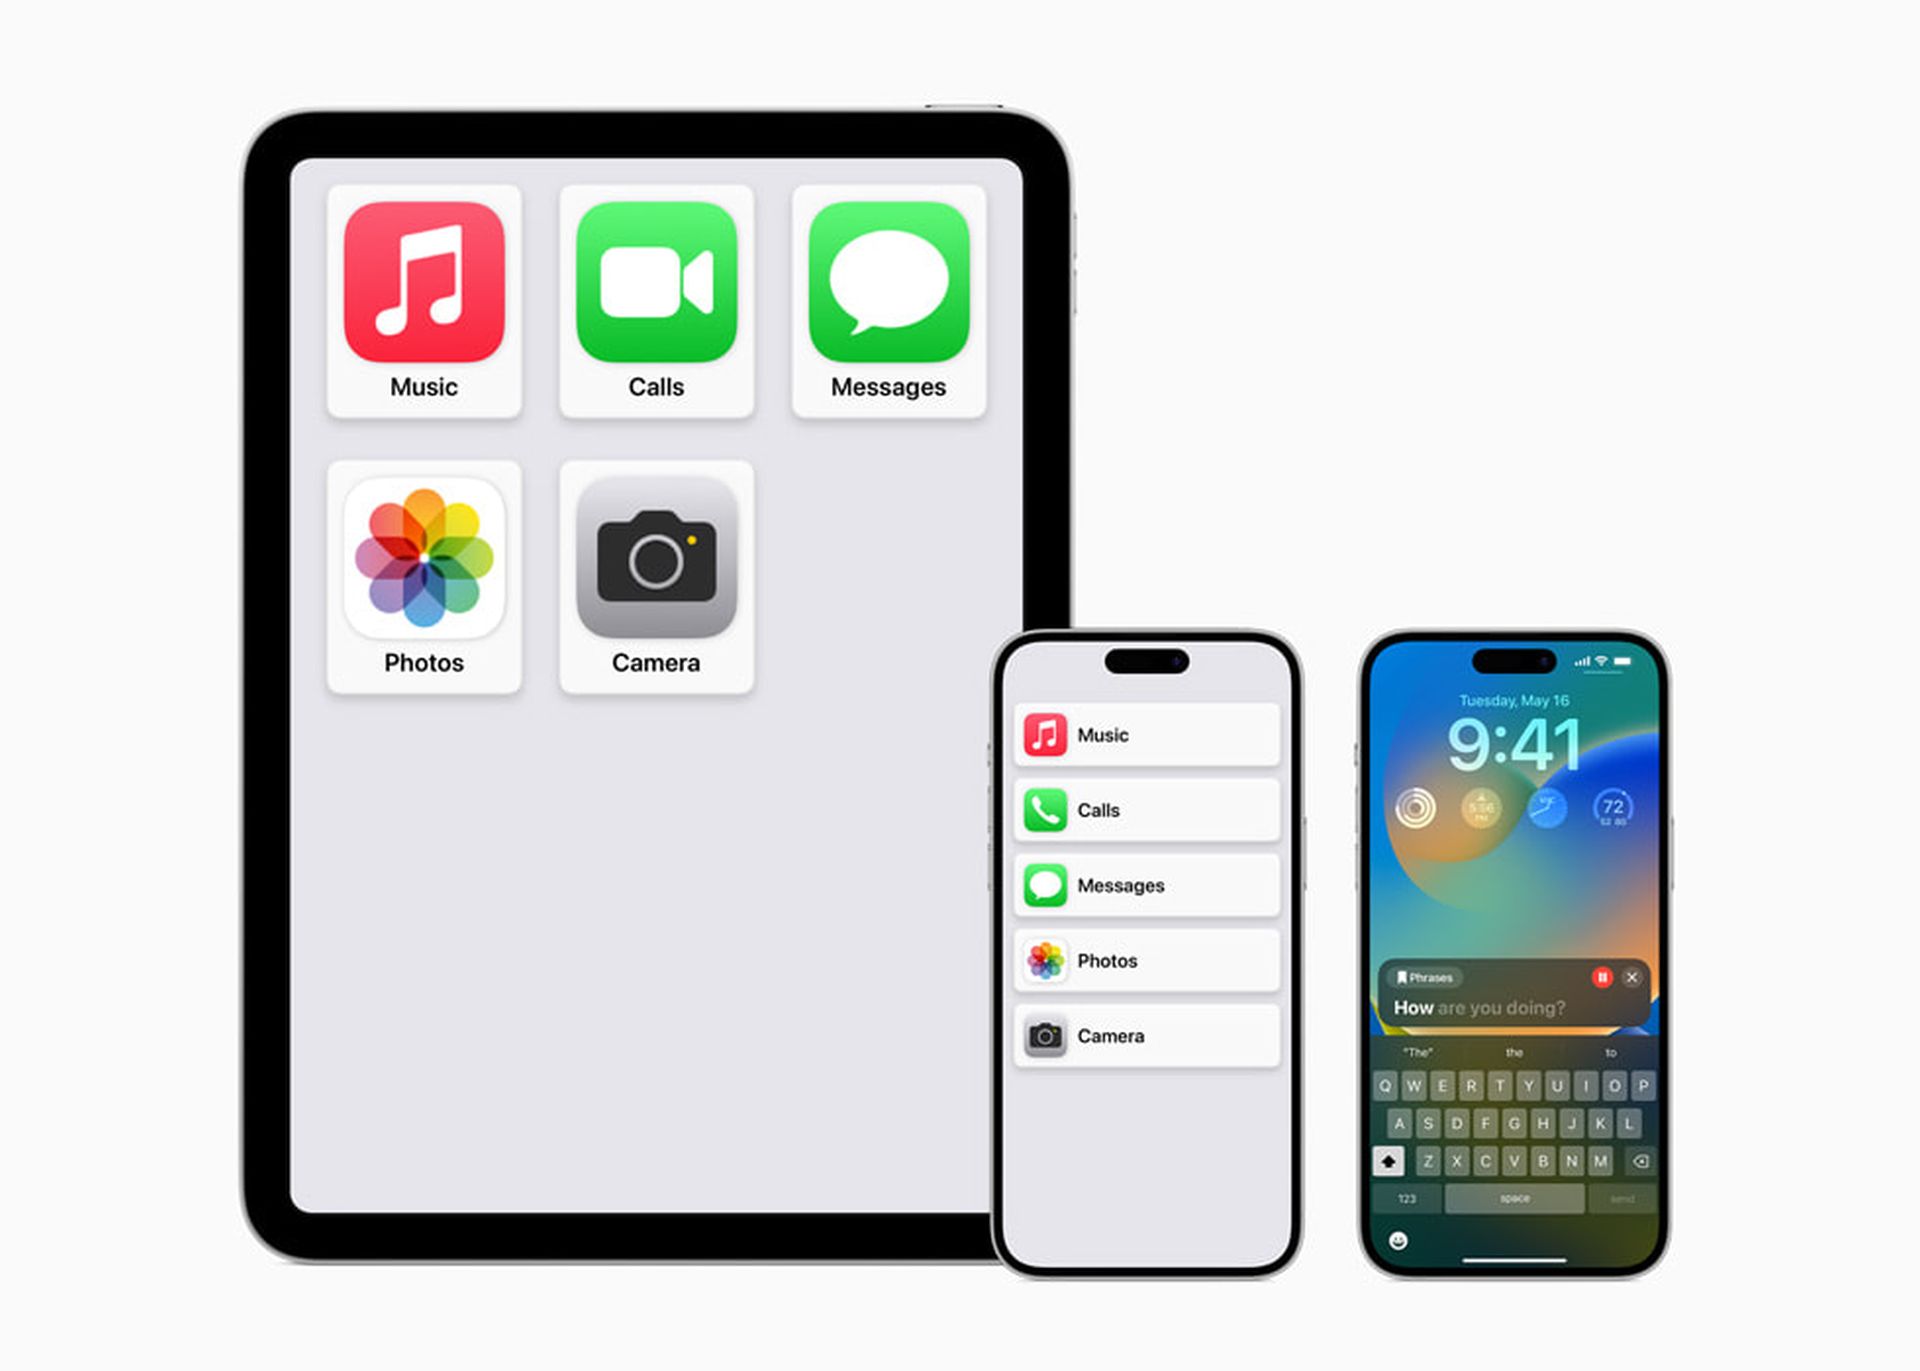
- Now you must return to Accessibility settings and select Live Speech.
- Go to the English (US) area after turning on the Live Speech toggle.
- Then select Personal Voice.
- Select the produced Personal Voice by clicking on it.
- Now, triple-click the Side button whenever you want your iDevice to speak with your robotic voice.
- Hit the Send button after entering the text you want to appear.
- Your Personal Voice will now be heard clearly on your iDevice.
- The function is available in numerous apps and even during phone calls.

Personal Voice is undoubtedly a potent feature that improves your iDevices, especially considering that it operates independently from Apple servers and functions offline. It will instantly sync to all of your compatible Apple products once you’ve configured it on one iDevice.
This indicates that the recording and training processes only need to be completed once. If you have selected iCloud sync, the voice will be accessible for use eternally once it is ready.
Here are more iOS 17 feature guides for you to check out:
- How to Rearrange iMessage apps in iOS 17: Explained
- How to set up Family Password sharing in iOS 17?
- How to lock white balance on iOS 17
- iOS 17 contact widget: How to activate?
- iOS 17 Sensitive Content Warning and others: A step-by-step Guide
Featured image credit: Apple


