Many AI art fans are wondering how to install Stable Diffusion on Windows, which we will answer in this article. You must have heard about the AI image generators that everyone has been raving about lately unless you’ve been living under a rock. After all, even for die-hard geeks, turning words into AI art is quite cool! With so many new tools appearing recently, each with its own special features and advantages, there have been a lot of talks.
Midjourney, Stable Diffusion, BlueWillow, and Artbreeder are a few of the most well-liked ones. By simply inputting a few sentences, they are making it simpler for both experienced artists and average users to produce stunning graphics and photographs, including killer profile pictures (thanks to headshot generators).

Stable Diffusion, a deep learning-based picture generator, is one of the more well-known ones. Since its initial release in 2022, it has improved user interface features and gained even more power. But to be really honest, employing stable diffusion hasn’t always been simple. It was a little difficult to use because of certain installation and setup concerns. Thankfully, since then, things have changed for the better as a result of an official standalone installer. Therefore, you’re in luck if you want to try Stable Diffusion on your PC. You can get started with the help of our guide. Let’s get started!
Make sure to check out our guide on how to use the Stable Diffusion AI art generator once you figure out how to download it to kickstart your art.
How to install Stable Diffusion on Windows?
To download and install Stable Diffusion on your computer, first utilize the standalone official installer.
However, we advise familiarizing yourself with the requirements before installing Stable Diffusion. To function as intended, Stable Diffusion needs a lot of computing power and storage. You can tell if your existing setup can support stable diffusion or not by looking at the prerequisites listed below.
- OS: Windows 10/11
- GPU: Nvidia graphics card with 4GB VRAM or more
- RAM: 8GB or more
- Storage Space: 20GB
Keep in mind that Stable Diffusion only supports Nvidia GPUs. Stable Diffusion can also be run on the CPU, although this will result in incredibly poor performance.
Using the official automatic installer
The quickest and most effective way to install Stable Diffusion on your Windows computer is via the official standalone installer. You can speed up the procedure by following the steps listed below.
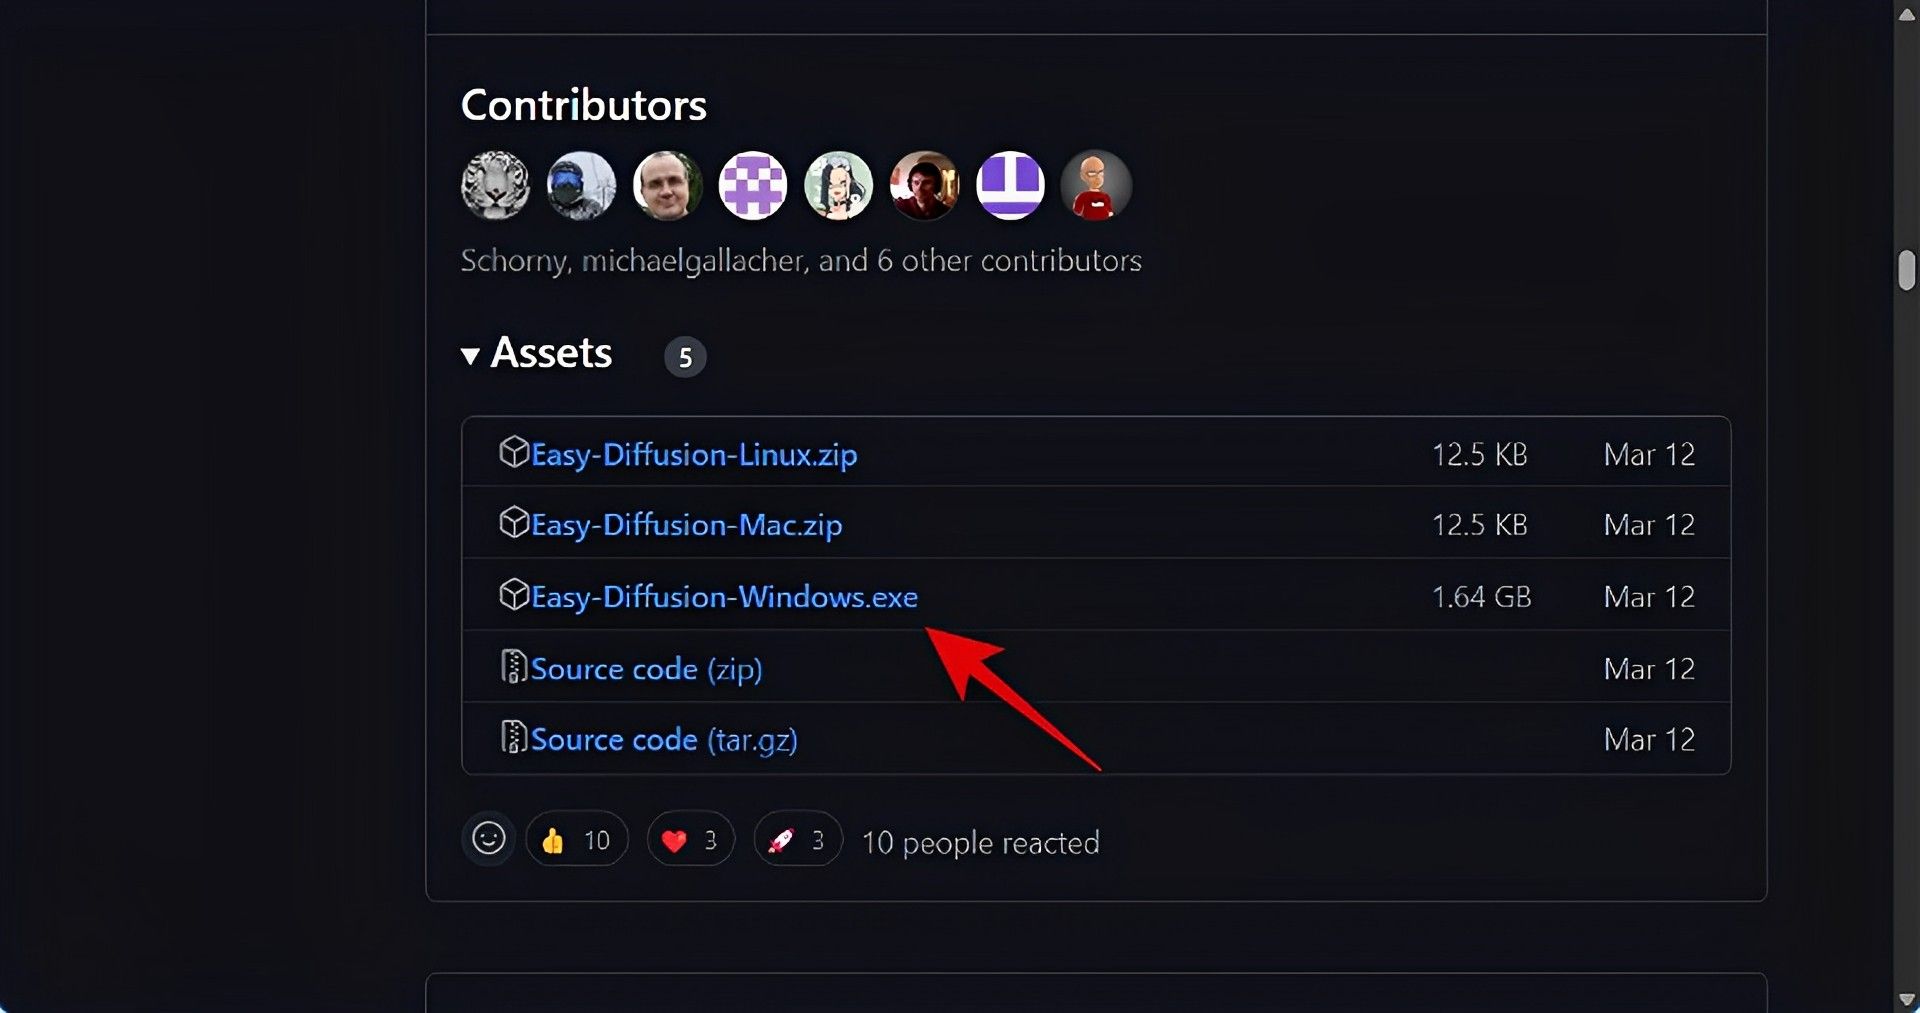
- When you open the link https://github.com/cmdr2/stable-diffusion-ui/releases in your browser, the installer will begin to download. Save the file to your PC’s place of choice.
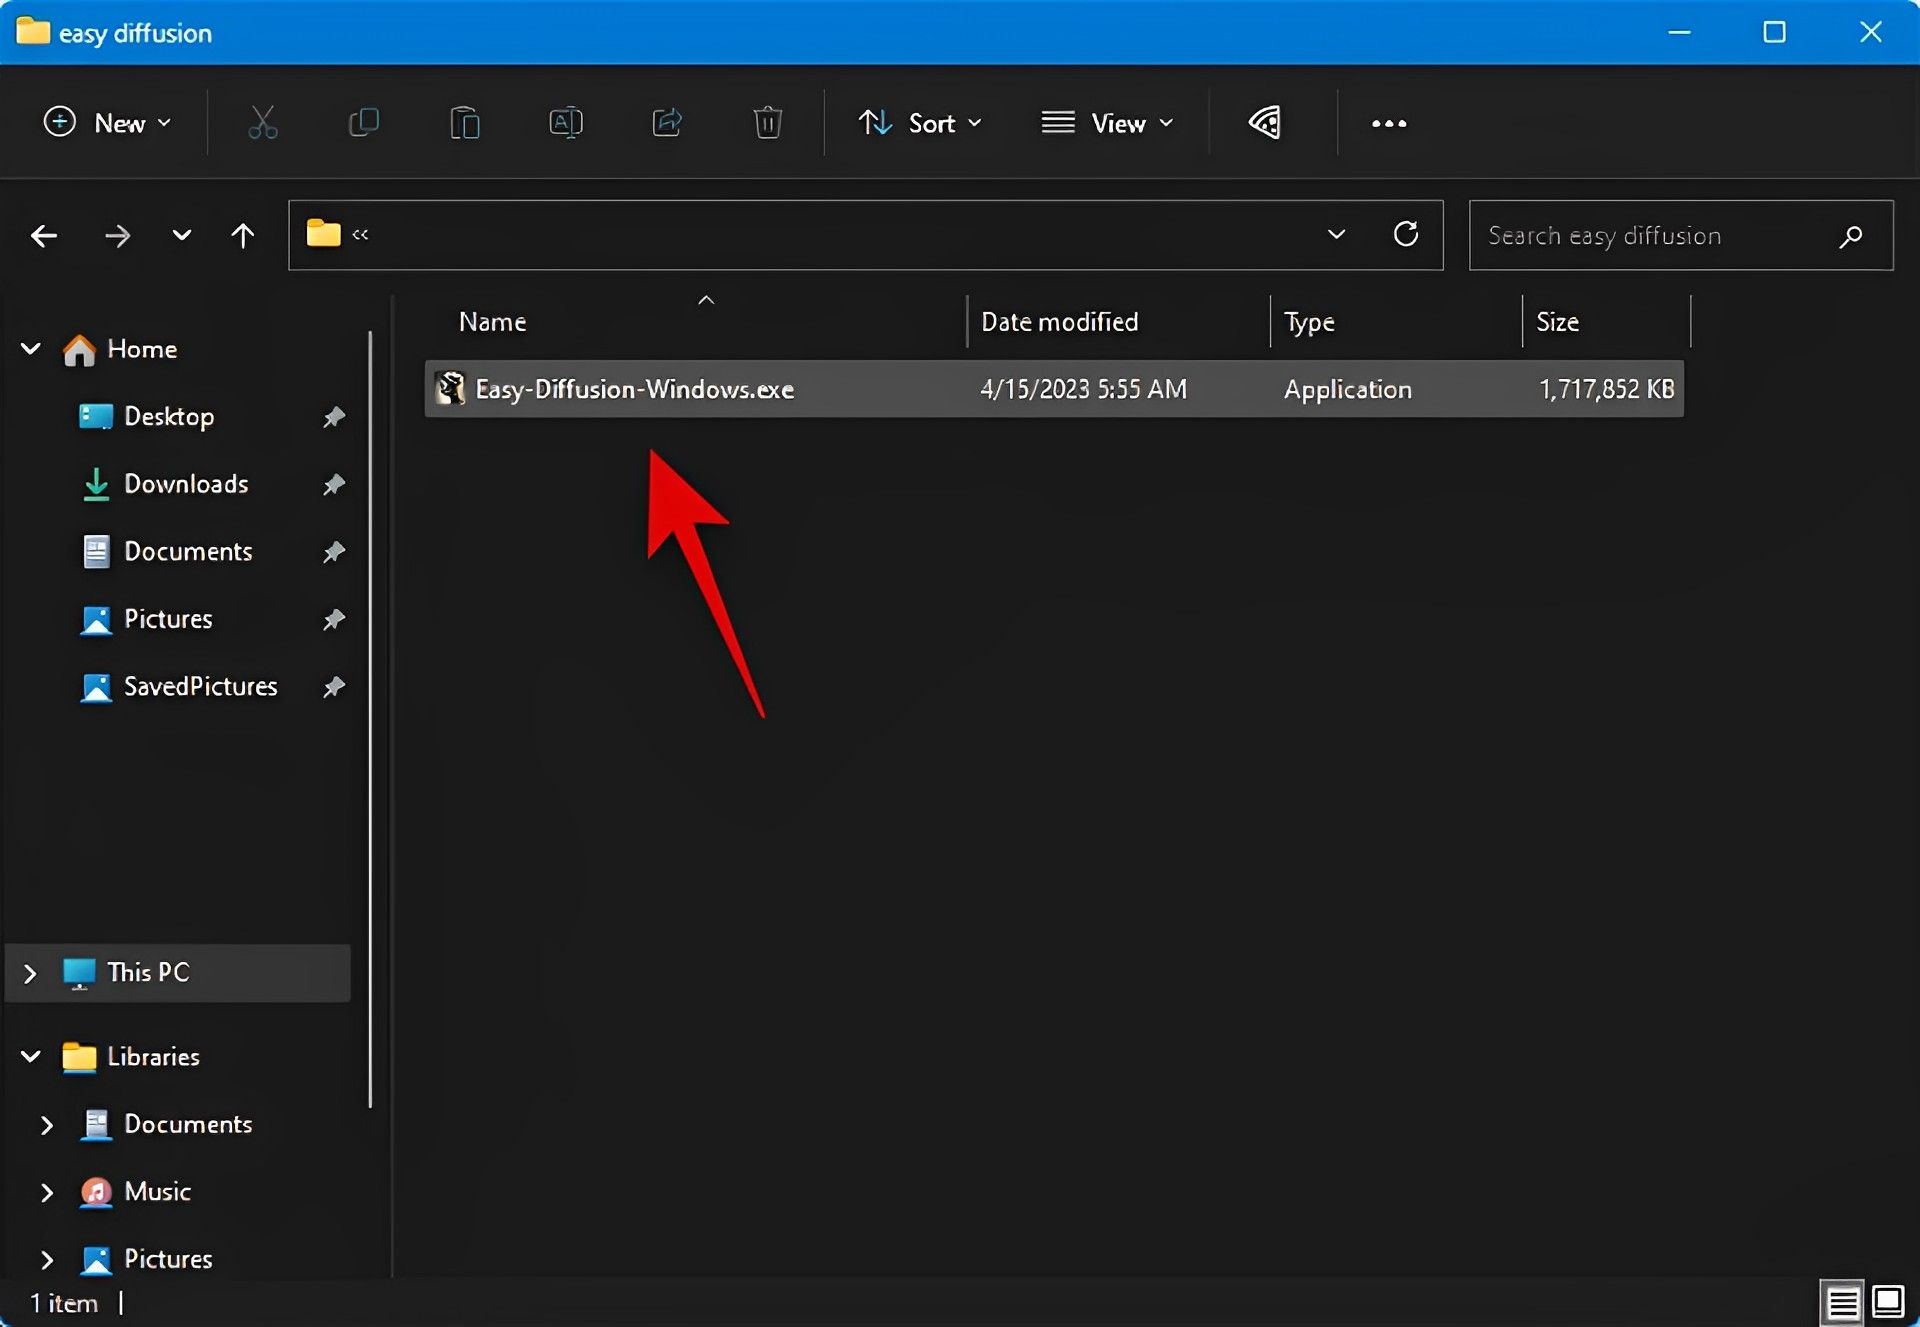
- Launch the Easy-Diffusion-Windows.exe file by double-clicking it now.
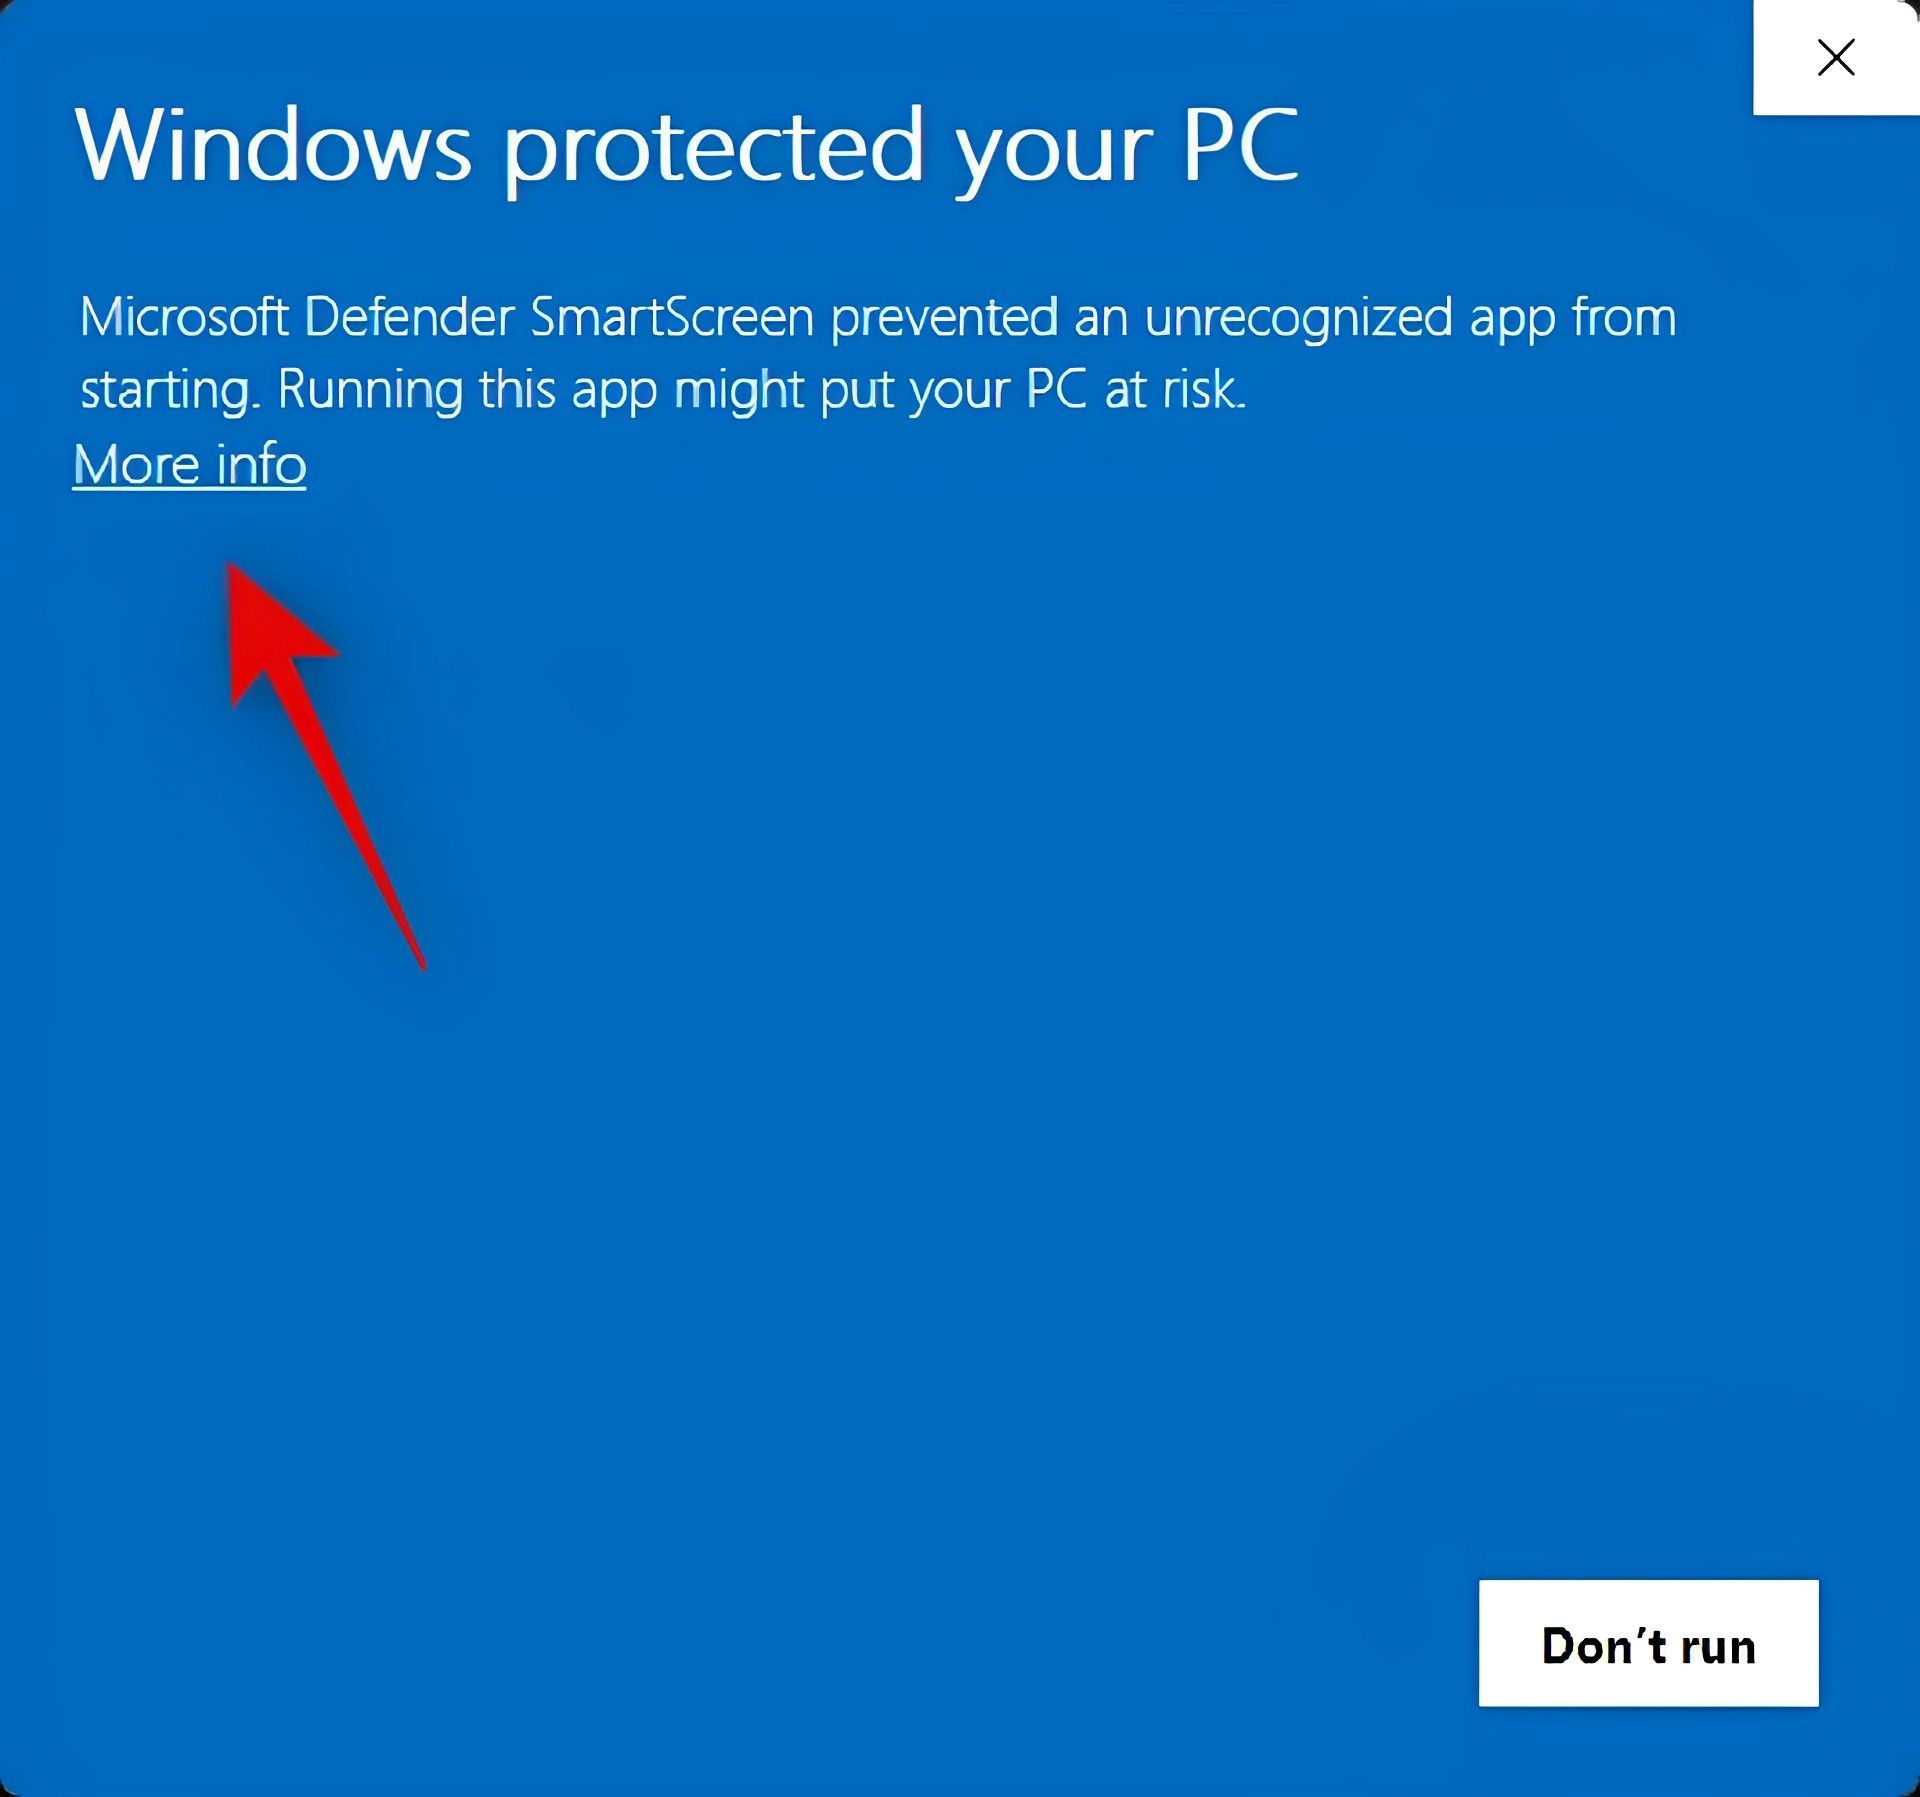
- This.EXE file is frequently incorrectly identified by Windows Smart Screen. To learn more if it applies to you, click More info.
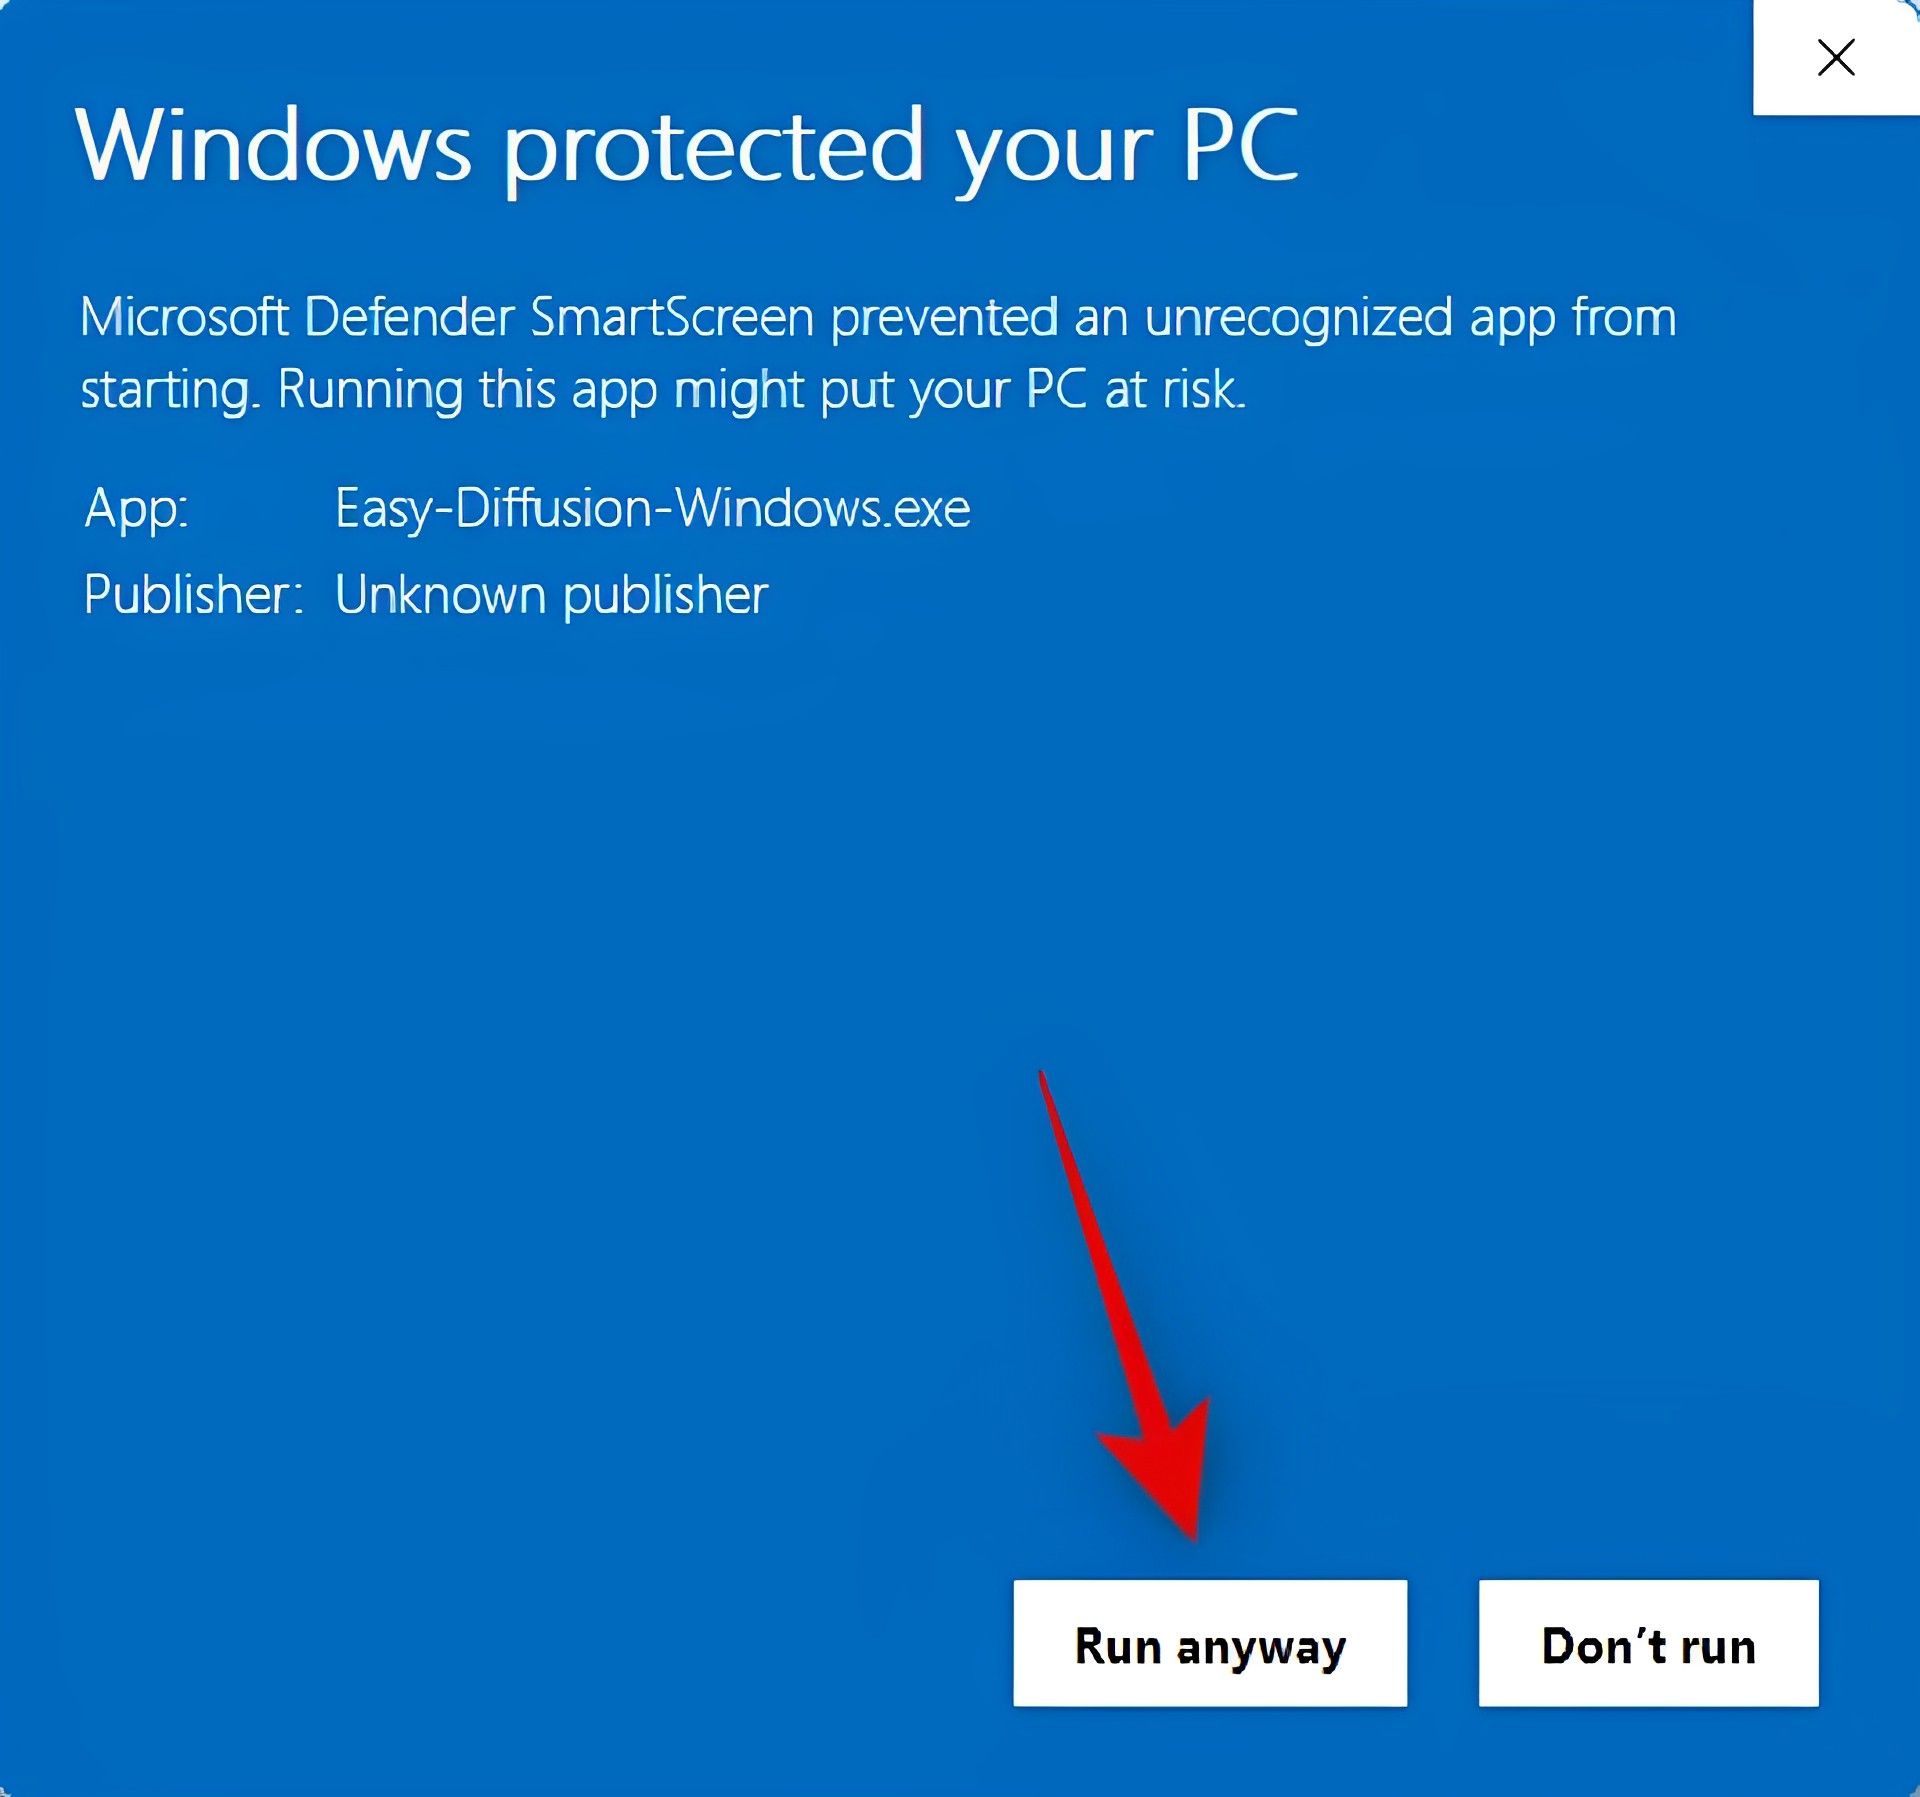
- Now click Run anyway.
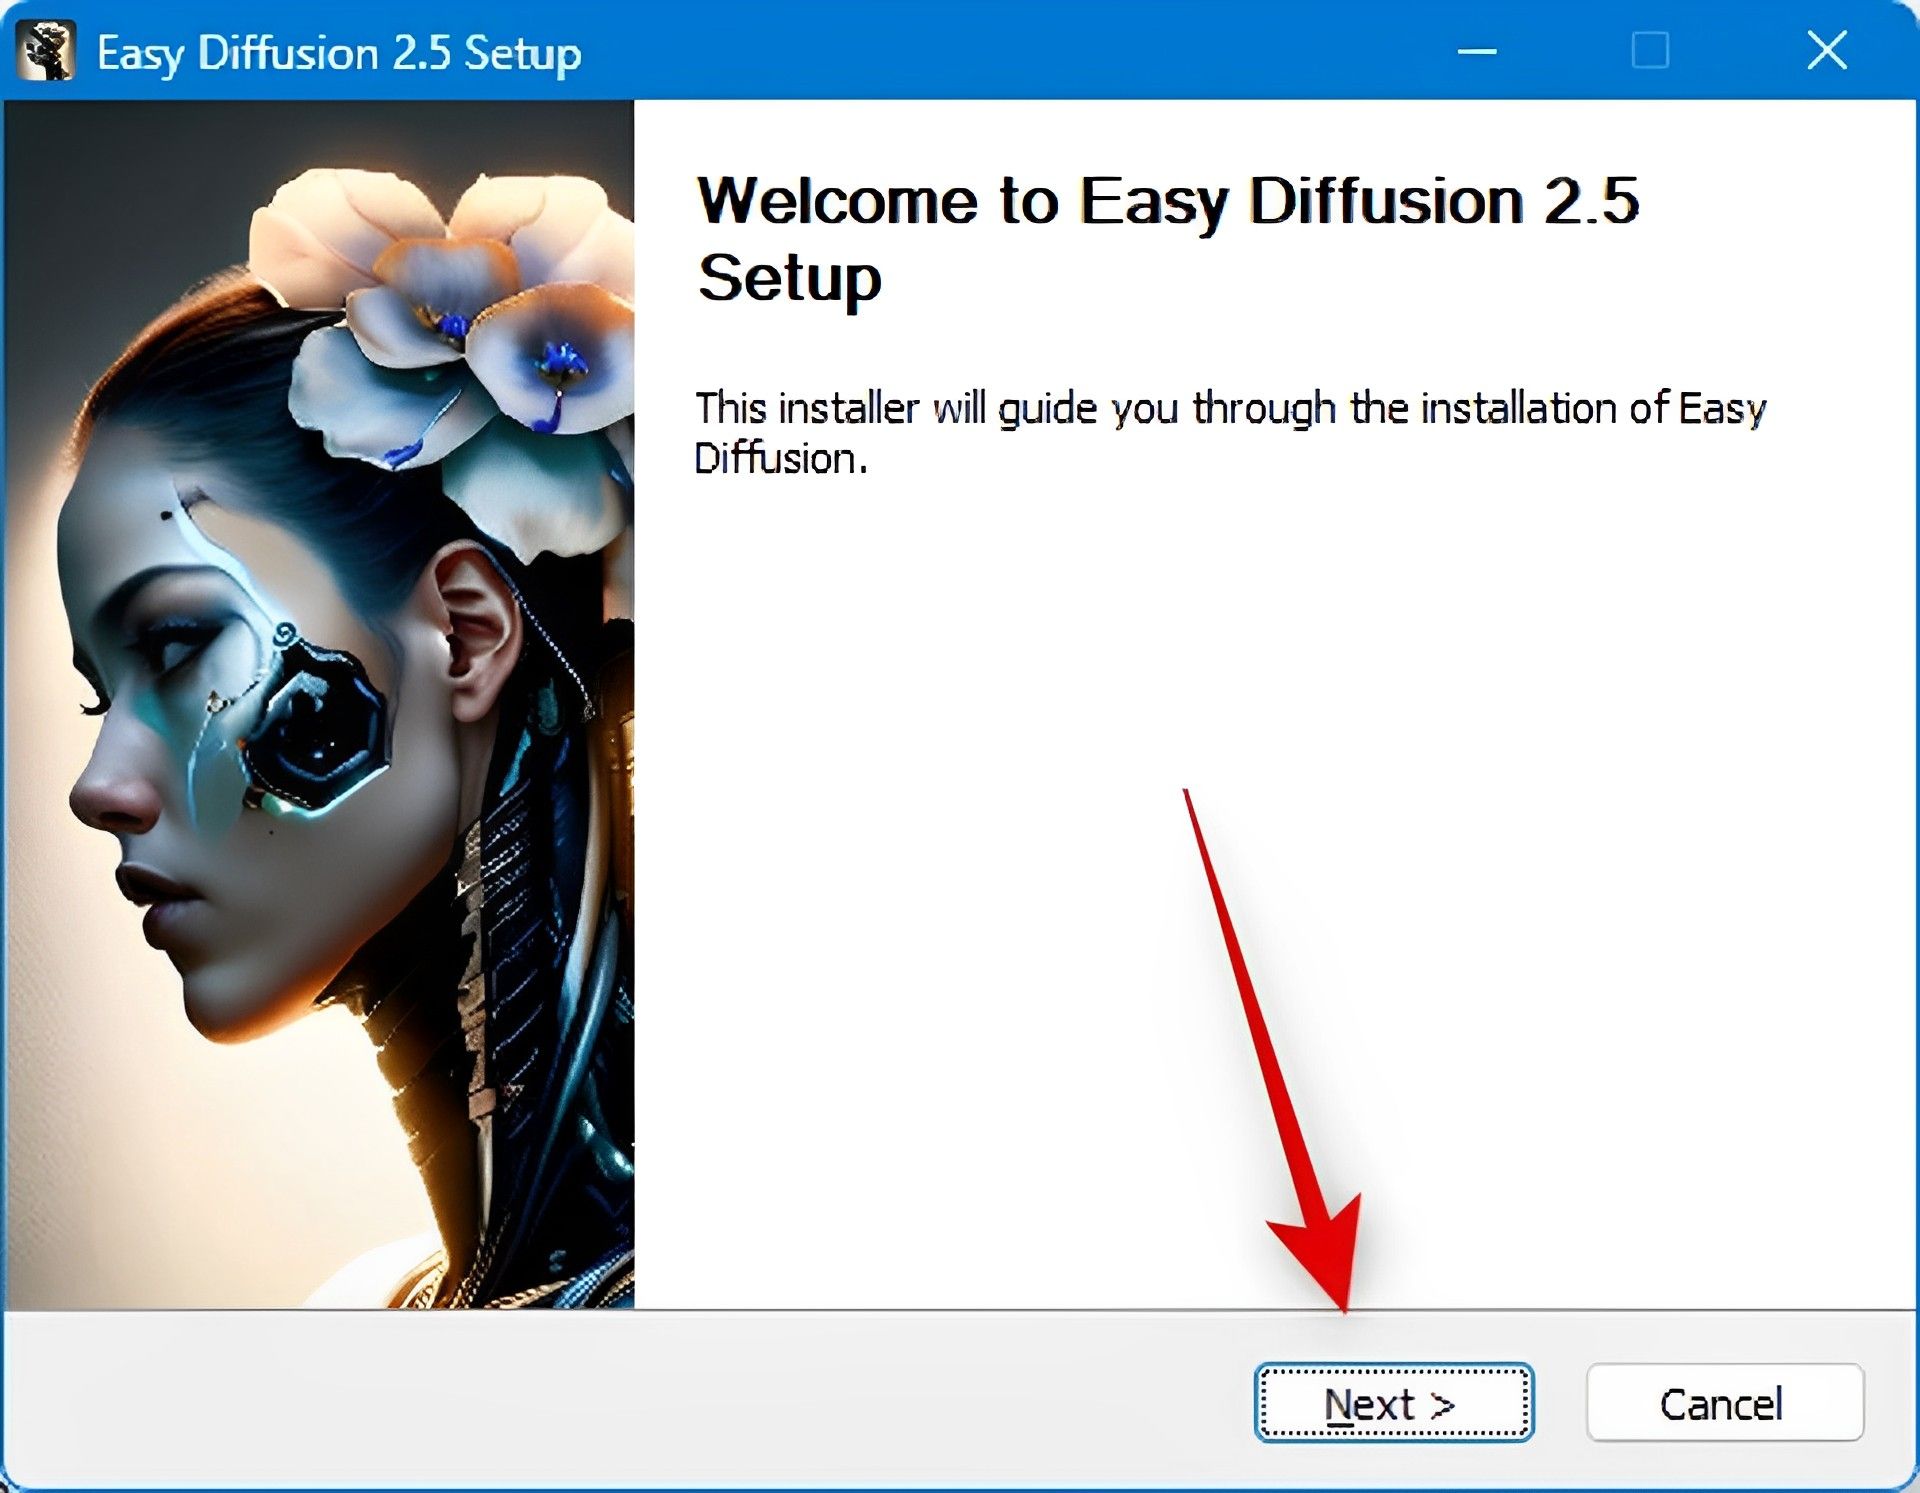
- Your PC will now start the installation. Choose Next.
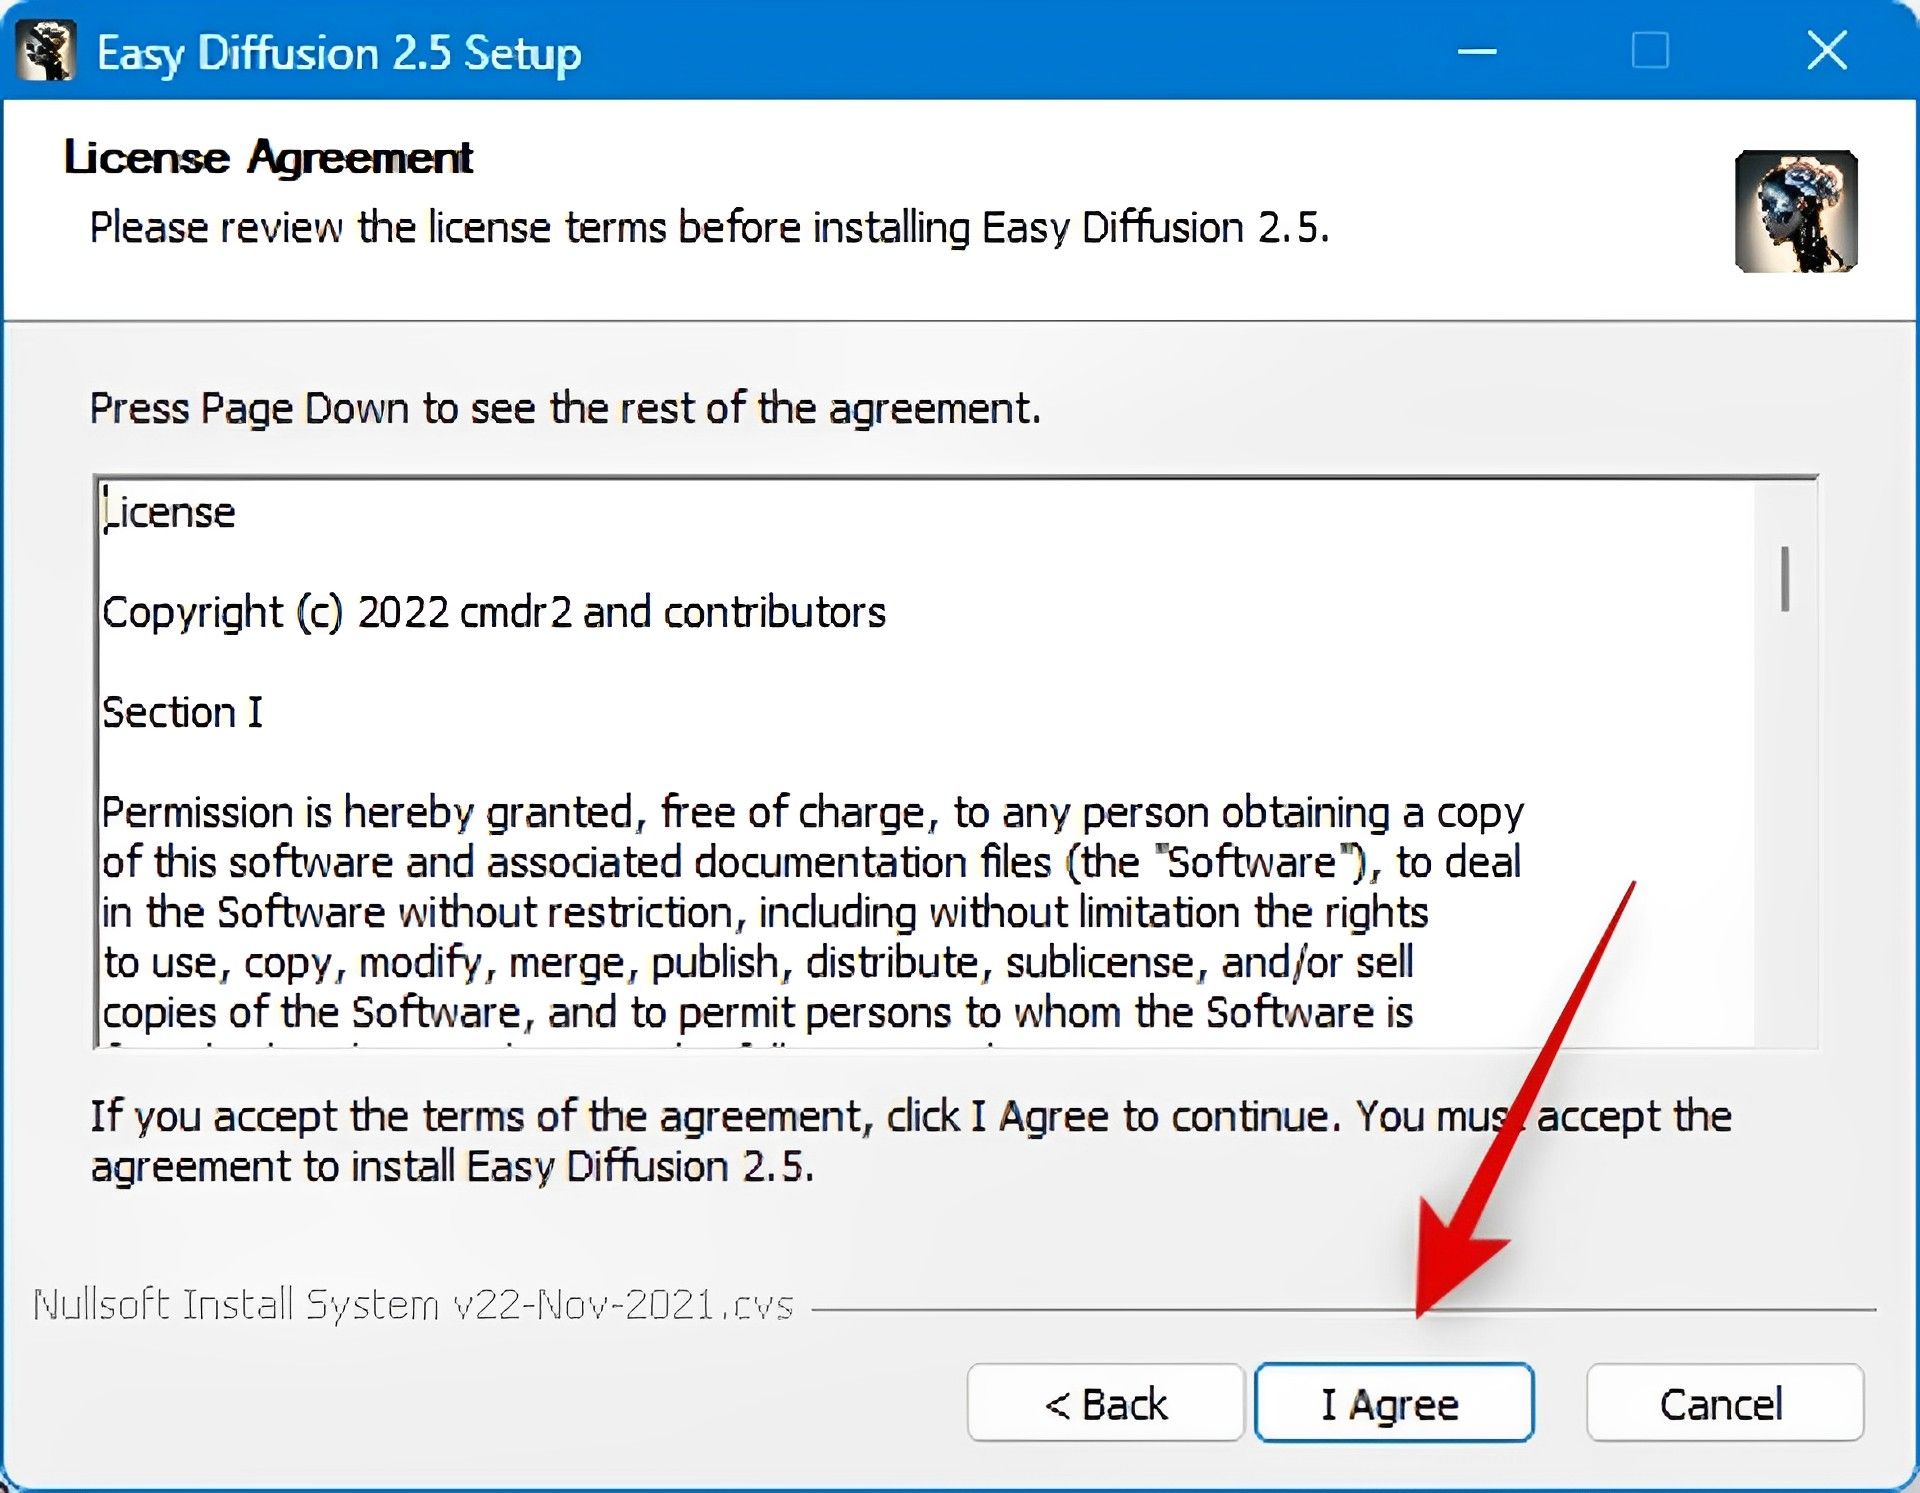
- The following step is to review the license and terms of usage. Once you’re done, click I agree.
- Select where you would like Stable Diffusion to be installed by clicking Browse…
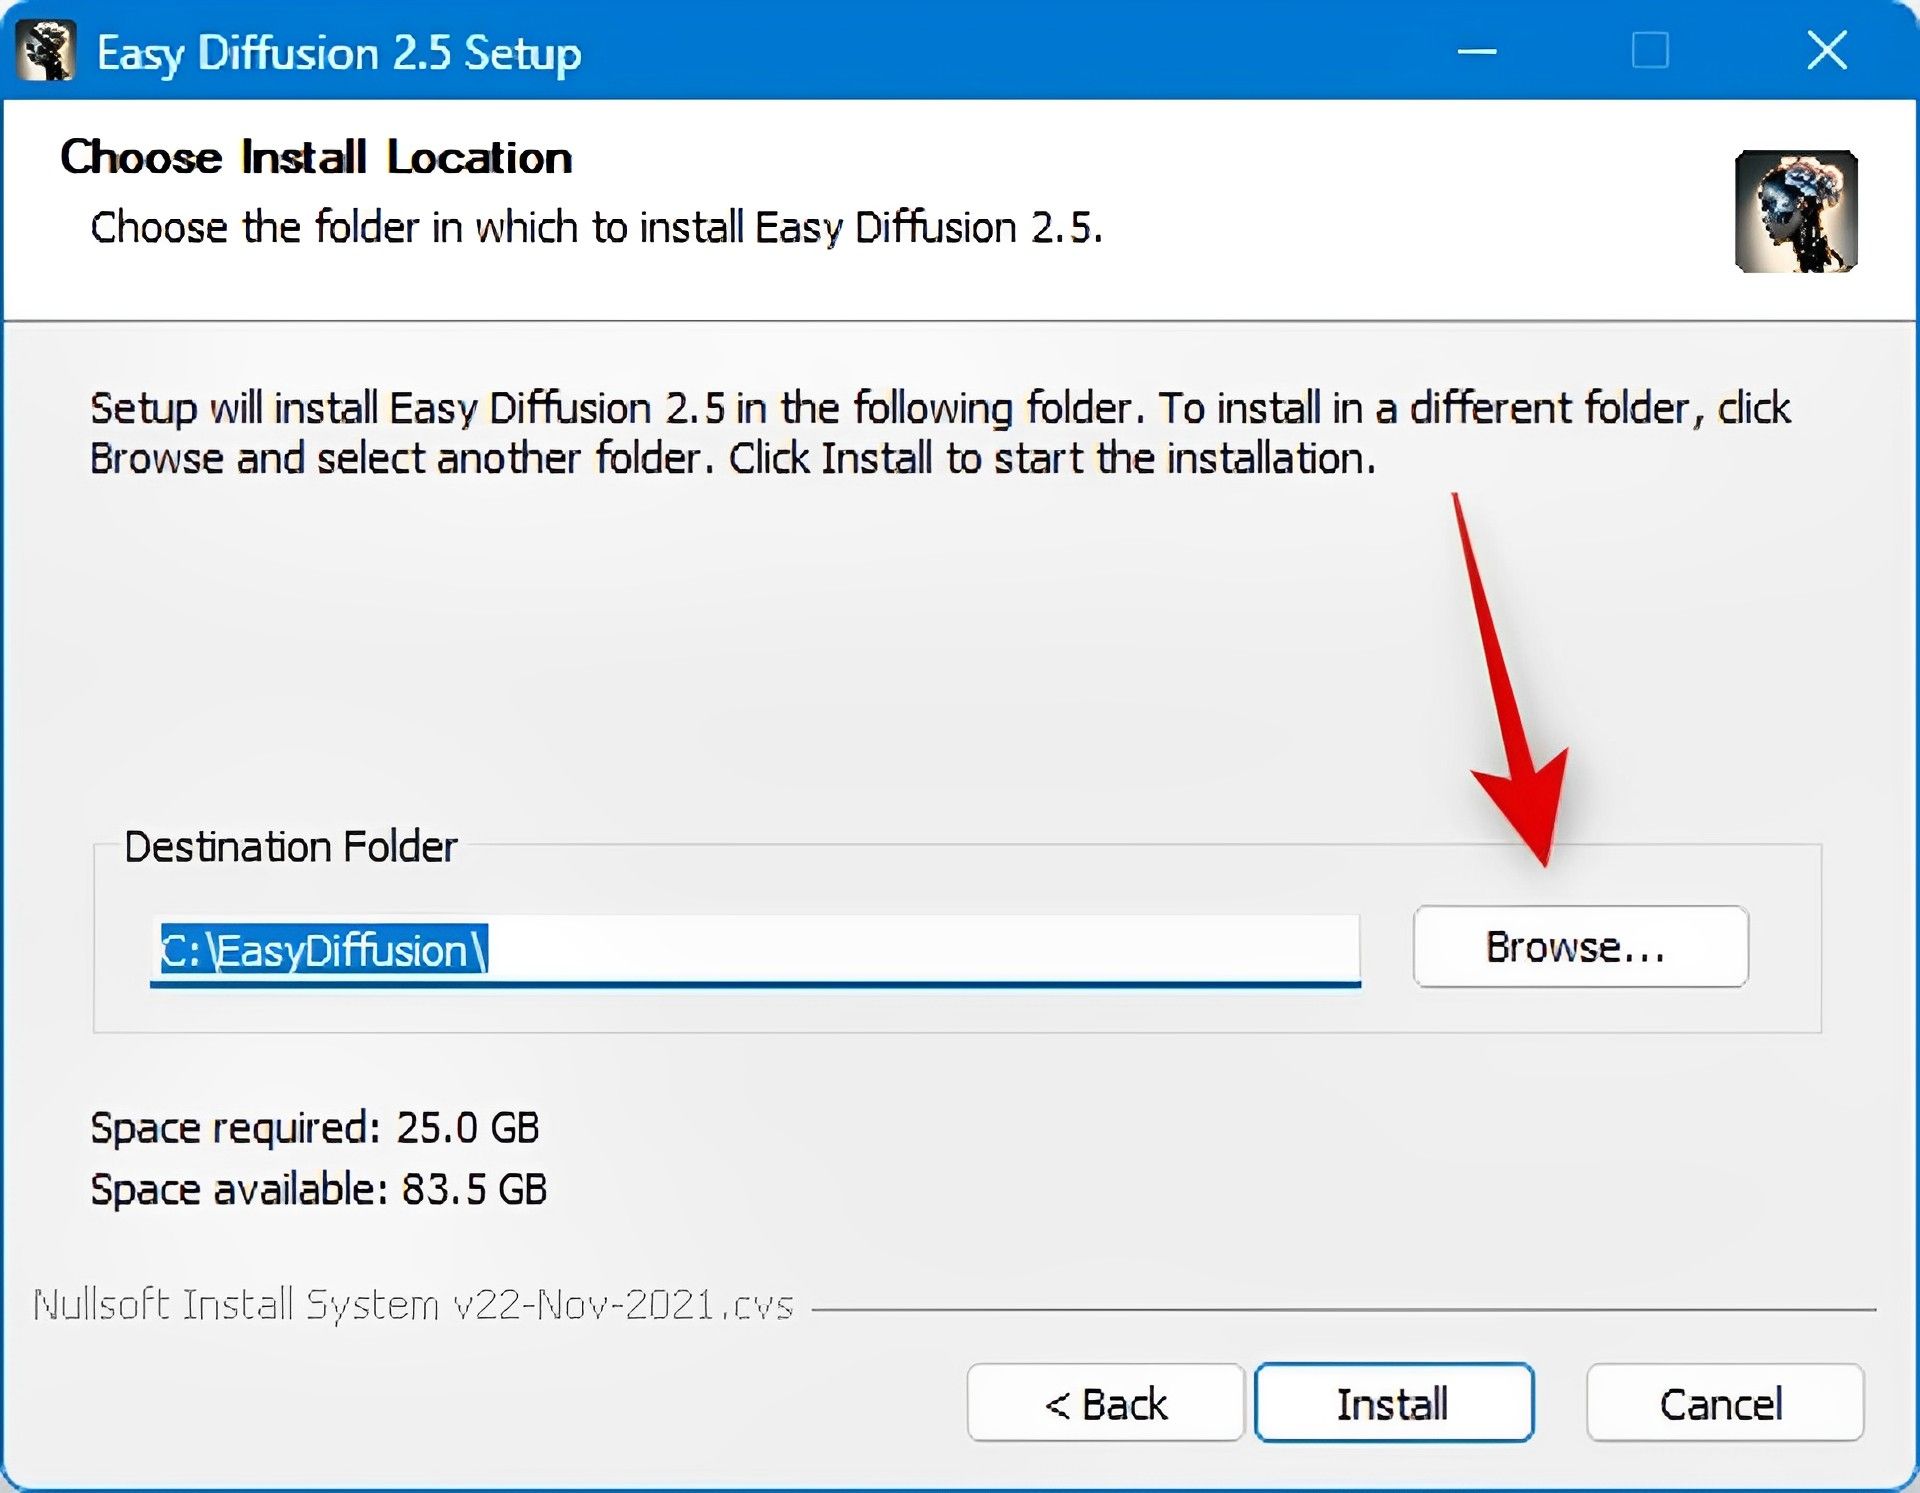
Make sure to install Stable Diffusion at the top level of your drive if you’re using Windows 10. As a result, your installation directory should be C:EasyDiffusion, D:EasyDiffusion, etc. This will stop problems brought on by Windows 10’s file path limitations.
- Click Install once you’re finished.
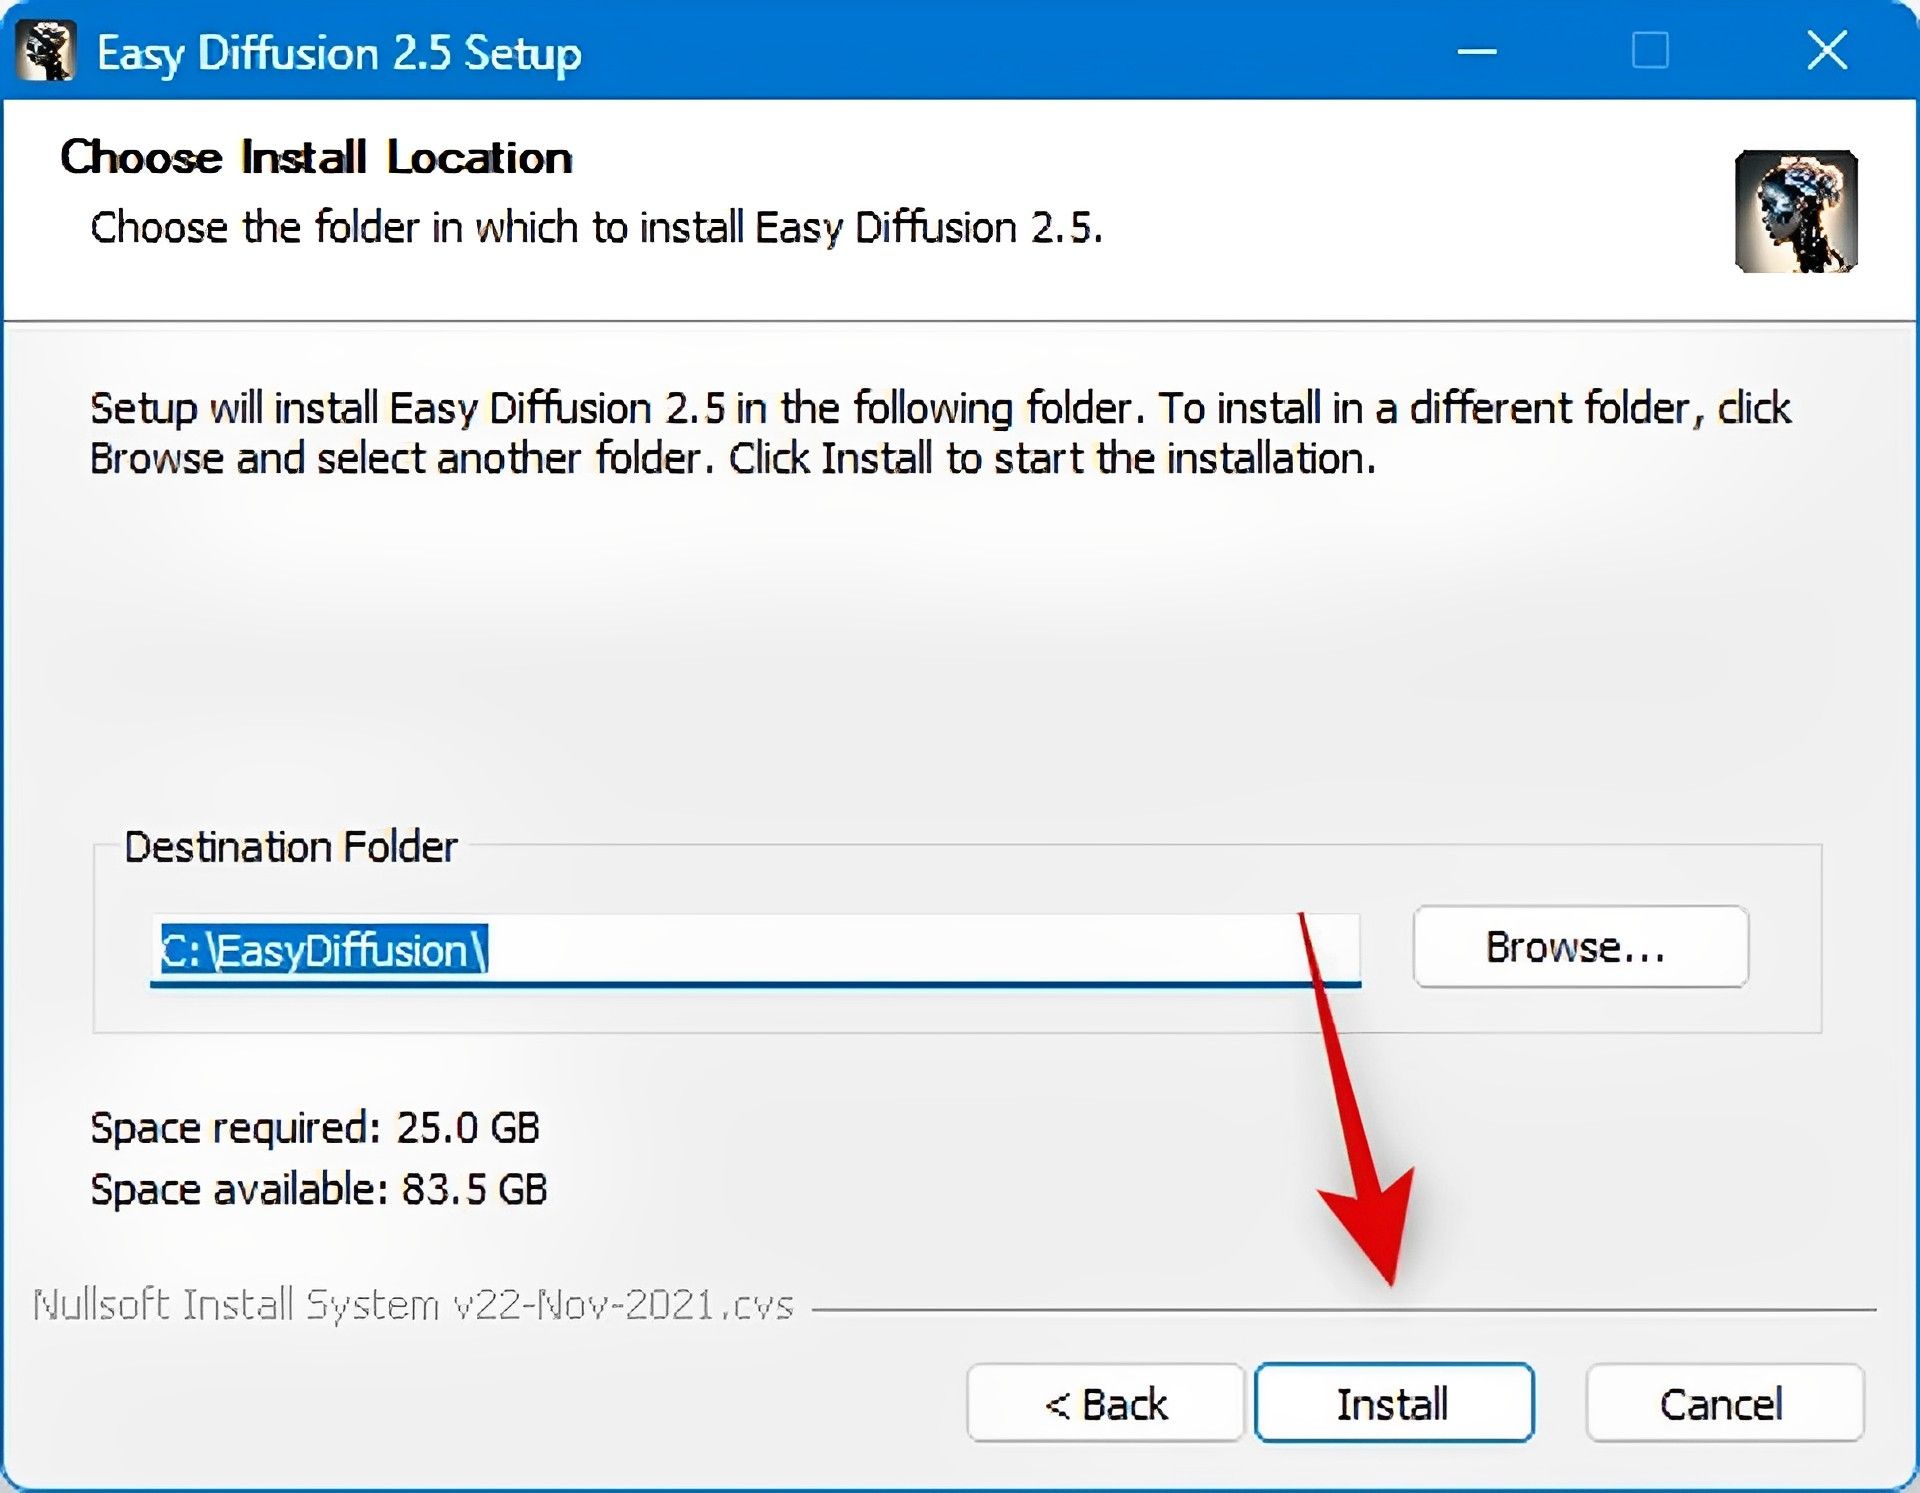
- Your computer will now be configured to run Stable Diffusion. Depending on the resources that are currently available on your PC, this can take some time.
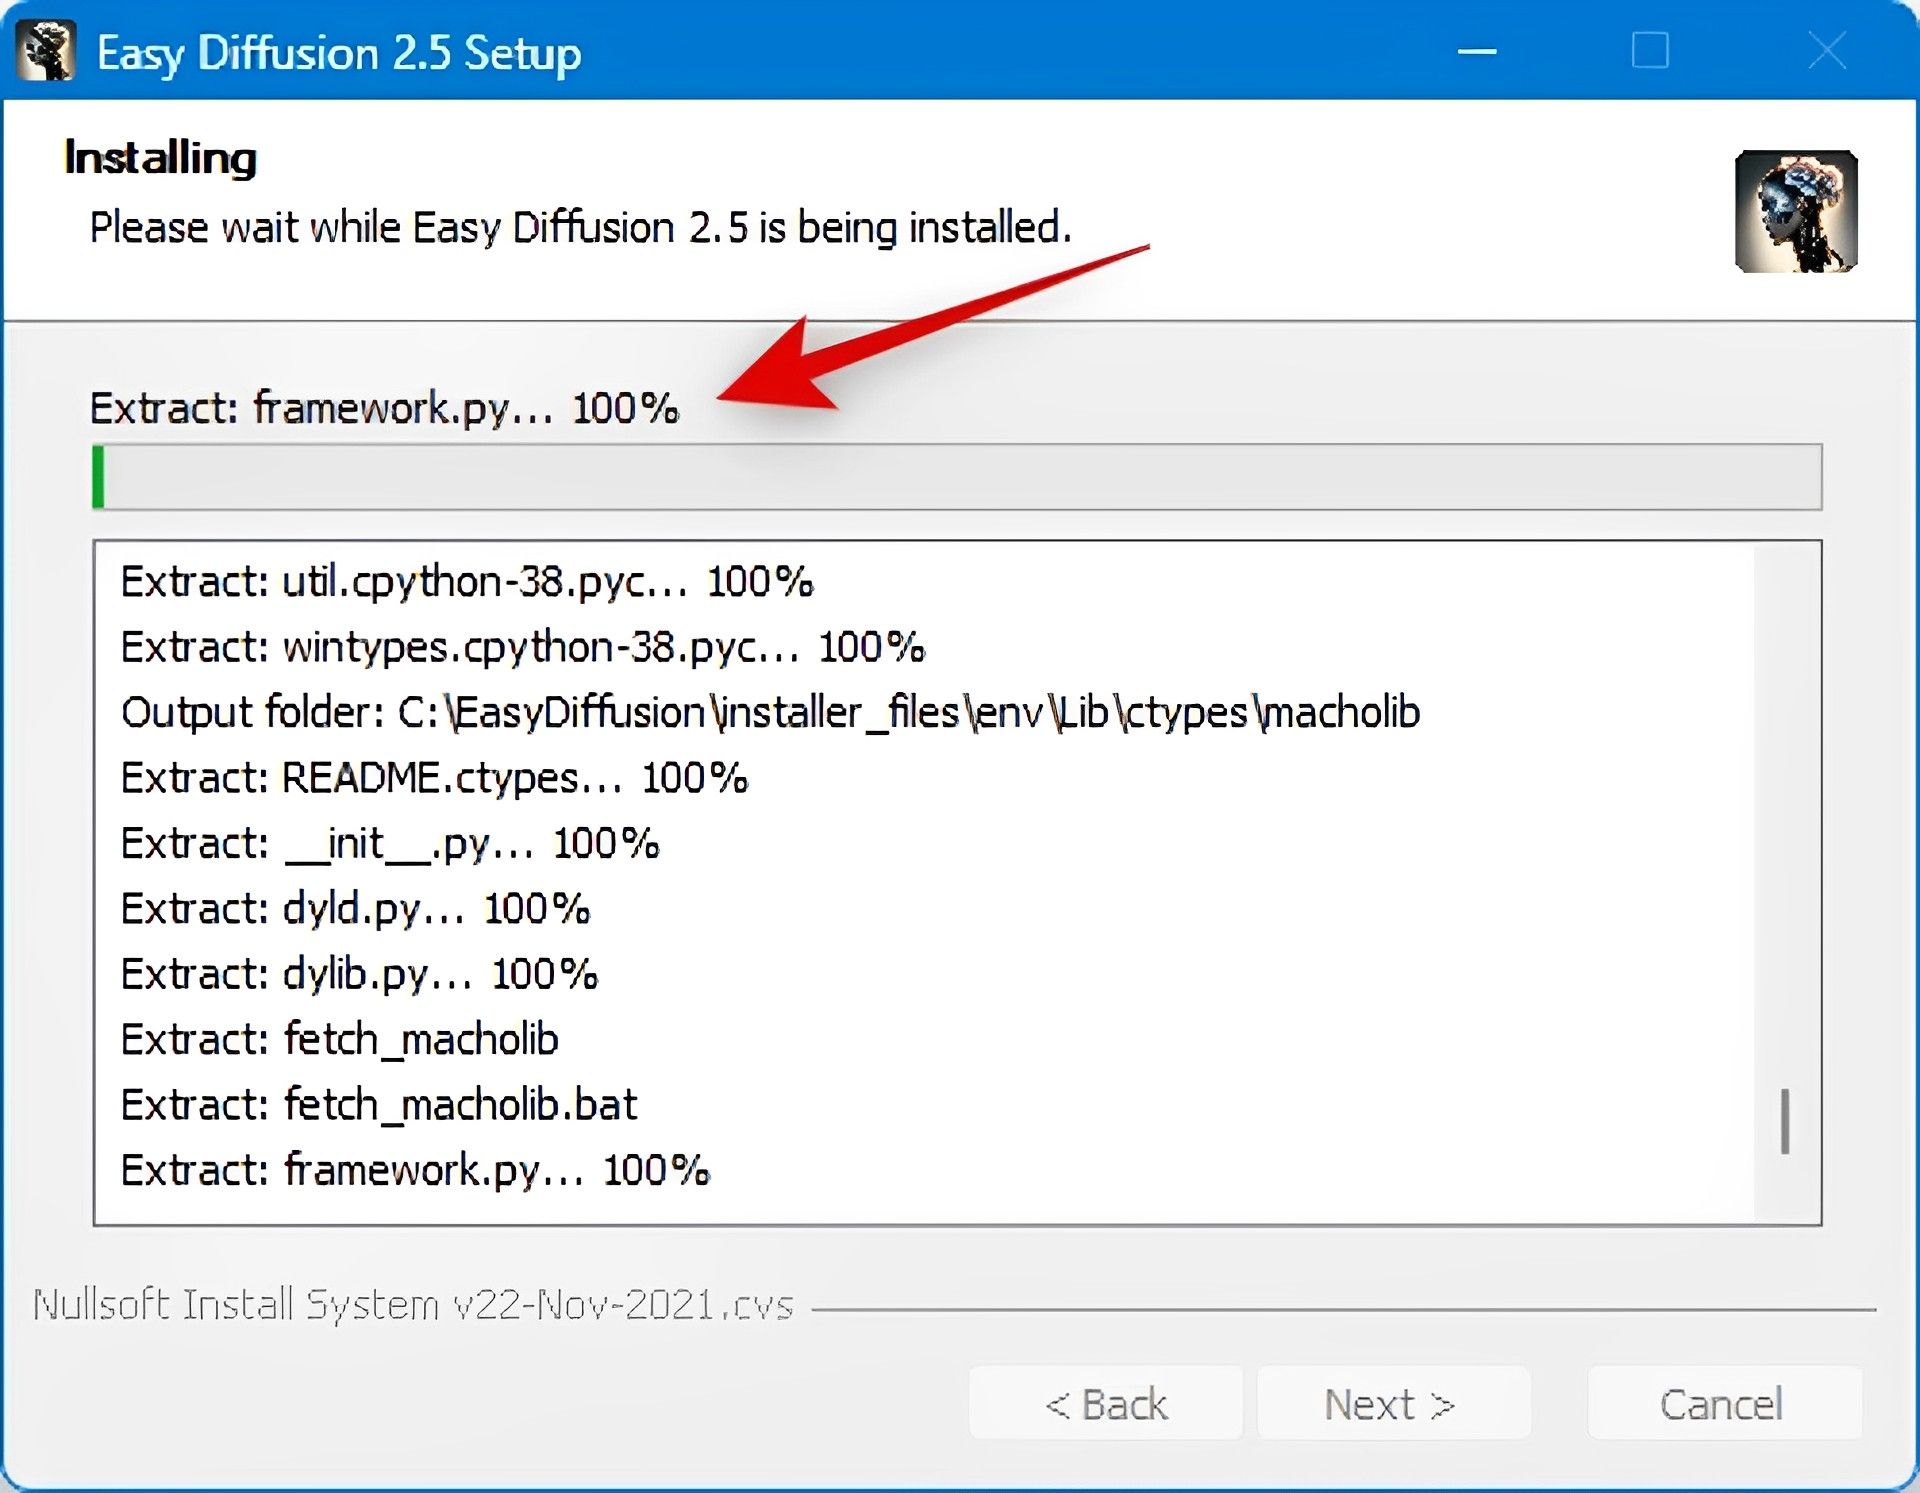
- When the installation is finished, select Create desktop shortcut if you want to create a desktop shortcut for Stable Diffusion.
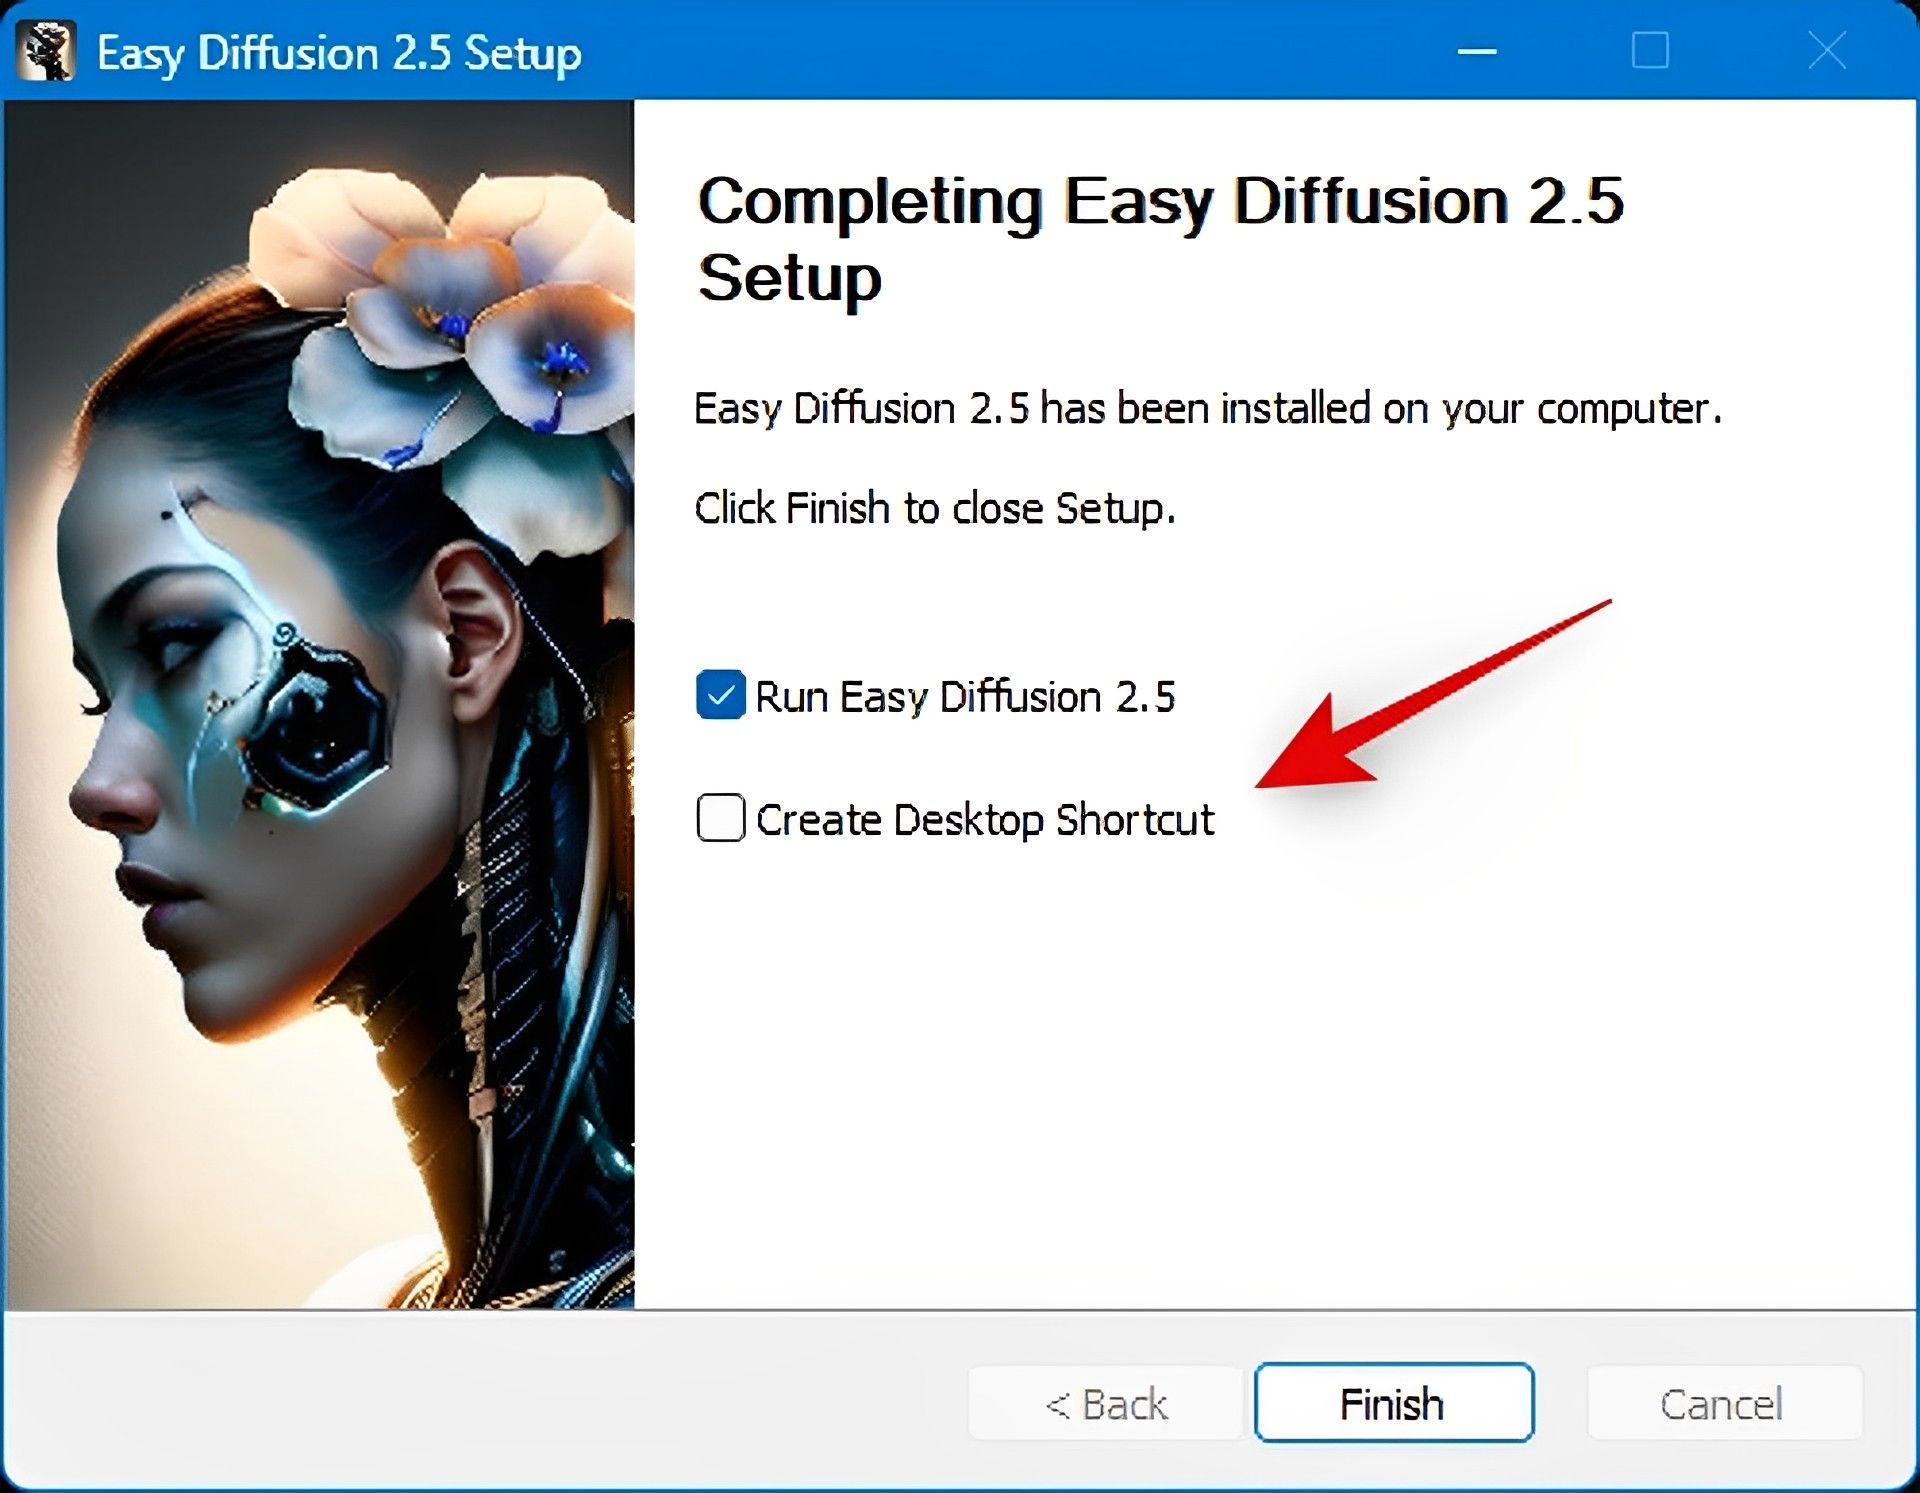
- Additionally, if you don’t want Easy Diffusion 2.5 to launch right away, click and uncheck the box next to it.
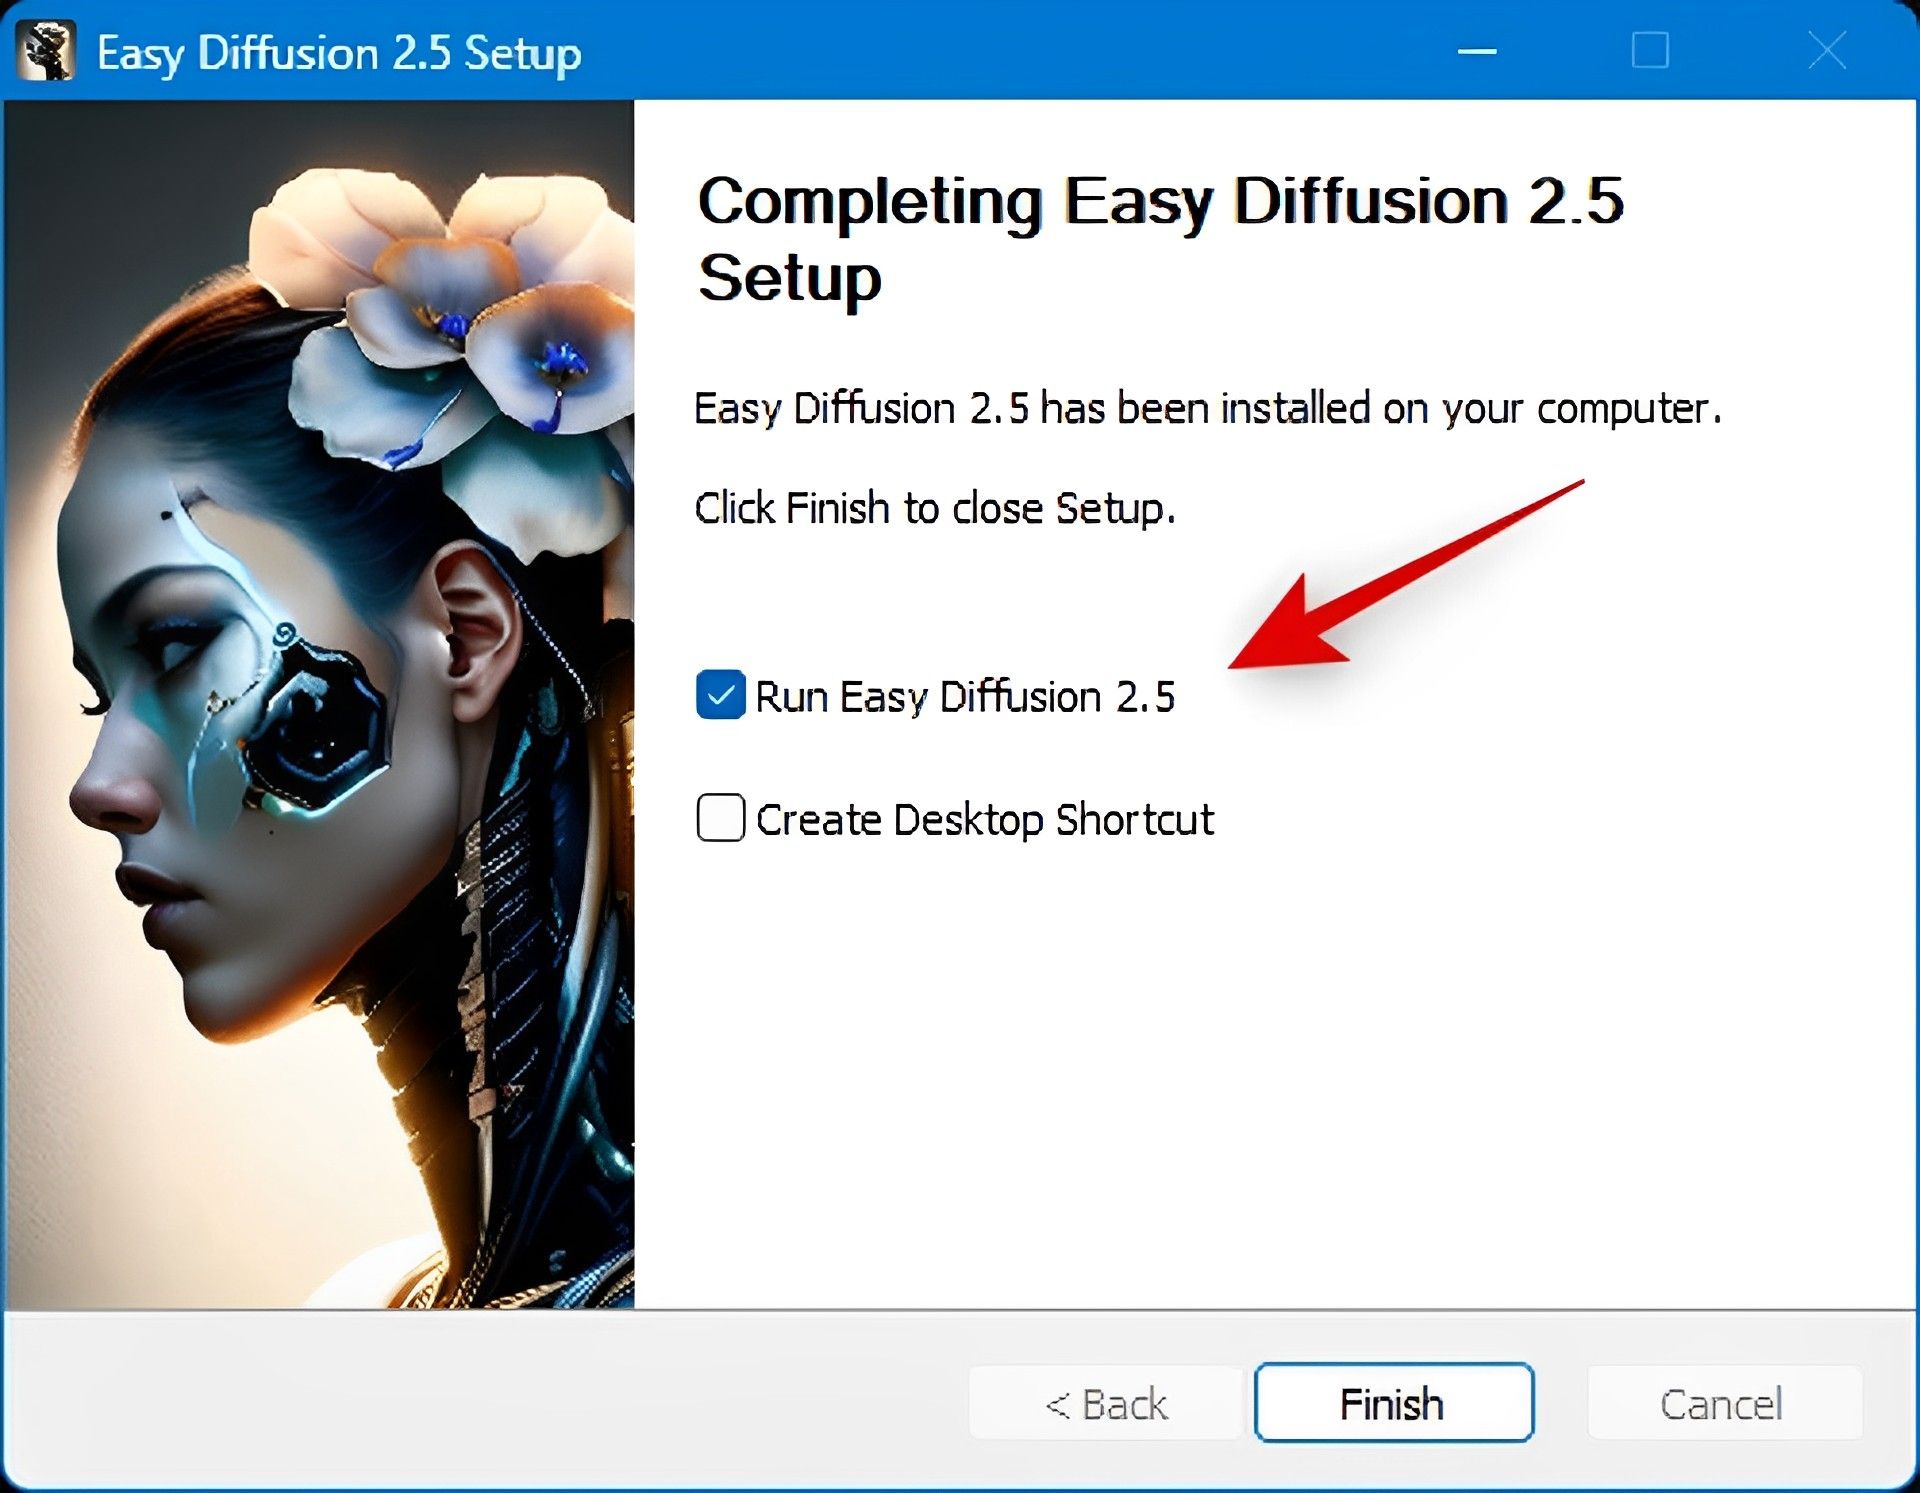
- Once you’re finished, click Finish.
Keep in mind that when you initially launch Stable Diffusion, the initial setup may take some time. We advise not interfering with this procedure since it is typical. Following the initial setup, the launch time will be shortened.
That’s all, then! Your computer has now been configured to run Stable Diffusion. Now that you’ve made a desktop shortcut, you may run it from there or the Start menu.


