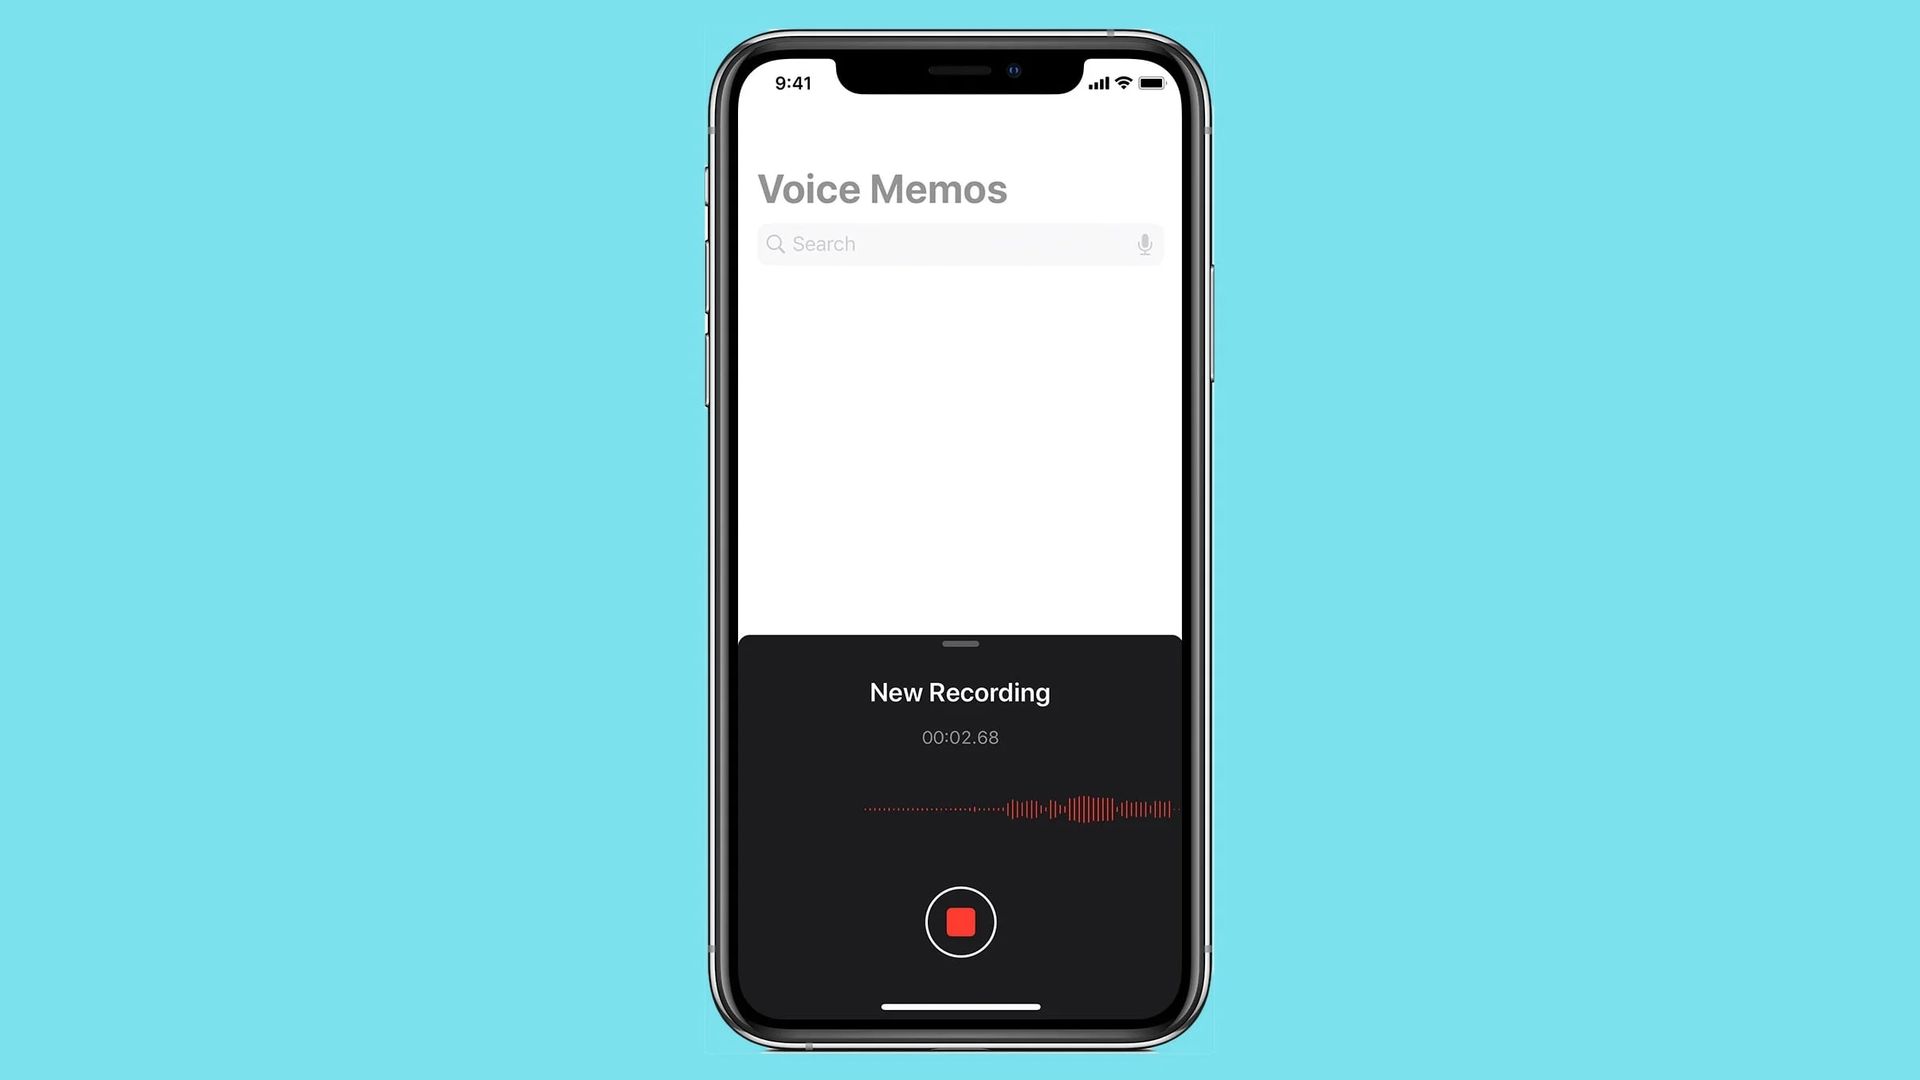
In this article, we are going to be covering where are Voice Memos stored on iPhone, so you can access them whenever you might want to listen back to them.
Your iPhone receives an essential or moving audio message. You later decide you want to listen to it again. You open the Messages app, expecting to hear the audio message, but it has already disappeared. Your audio message has been deleted by Apple! In this post, we’ll show you how to prevent your audio messages from vanishing and export them from the Messages app for use elsewhere.

Where are Voice Memos stored on iPhone?
Your stored audio files will be in the Voice Memos app if you have an iOS version prior to iOS 12. To get them, go to:
- Go to ‘Messages.’
- Find the audio message that you wish to preserve.
- Long-press the button.
- Select ‘Save.’
Your audio messages are now viewable within the Voice Memos app. Voice Memos audio messages are reasonably simple to relocate, preserve, and distribute. Unfortunately, Apple has removed that feature in later versions of iOS.

Audio messages on iOS 12 & later
Voice messages received on iPhones running iOS 12 and later act like secret communications given to agents in a ‘Mission Impossible’ film! Unless you save them, they will self-destruct in 2 minutes after you listen to them! This procedure is intended to conserve storage space while also protecting your privacy. That concern, however, will not alleviate your anguish when you lose a crucial audio communication since you neglected to preserve it!

Exporting voice messages using the Notes app
Finally, neither the ‘Keep’ option nor storing your audio voice communications within the Messages app may be the answer you’re looking for. What if you wish to remove your stored audio files from the Messages app entirely? Perhaps you want to utilize the messages creatively, or you want to preserve them on a secure disc that only you have access to. Fortunately, this is a rather straightforward procedure. Begin by doing a Long-Press within the ‘Messages’ app.

- Long press the audio message you wish to export/share to export/share it. This action displays a supplementary menu.
- Now, tap the ‘Transfer’ button to copy the audio file to your iPhone’s clipboard.
- Next, open the ‘Notes’ app and make a new note.
- Tap the newly generated note and choose ‘Paste’ from the pop-up menu to insert your audio file. Your audio message will be saved as a.caf file under Notes.
- Long-press this audio file, OR tap in the upper right-hand corner. You may access your iPhone’s share choices by doing one of these activities.
- The audio file may now be shared with a variety of apps and services.

How to listen and reply to your audio messages?
The iPhone is set up by default to play all incoming audio messages using a function called ‘Raise to Listen.’ It is quite simple to use:
- Raise the iPhone to your ear to listen to a message.
- Raise it once more to respond.
- To disable the functionality, navigate to:
- ‘Messages’> ‘Settings’
- Turn off>
- ‘Raise your voice to listen.’
- When you press the triangle play symbol, audio messages will begin to play.
- Tap on the soundwave symbol inside the message reply area to answer to a message.

How to save iPhone audio messages?
Any audio message you’ve received on your iPhone can be saved using one of the following easy methods:

The ‘Keep’ button
- In the Message app, go to the voice message.
- If you look closely at the audio, you’ll notice the word ‘Keep’ written in blue just beneath it.
- To save the audio, tap the words.
- This will keep it visible for as long as you have that message thread open on your iPhone.
- You can access your audio messages across all of your Apple devices if your iPhone messages are synchronized using iCloud.

The drawback of choosing ‘Keep’ is that it is easy to forget to save the file, and you must remember to save each message to avoid their expiring. Messages are set to expire two minutes after you listen to them. There’s no way to get them back after they’ve gone. Instead of storing each message separately, go to the iPhone’s ‘Settings’ menu and eliminate the time restriction entirely. This easy adjustment ensures that your audio messages will be available permanently.

How to change the default audio message settings?
- On your iPhone’s home screen, tap the ‘Settings’ icon.
- Scroll down to find the ‘Messages’ icon. To access the sub-menu, tap it.
- Scroll down to ‘Audio Messages,’ then hit the ‘Expire’ option.
- Set the expiration date to ‘Never.’

We hope that you enjoyed this article on where are Voice Memos stored on iPhone. If you did, we are sure that you will also enjoy reading some of our other articles, such as iPhone dictation not working: How to fix the iOS 16 error, or iPhone 14 Pro getting hot: How to fix it.


