In this article we will tell you what is TPM 2.0, How to know if you have it and activate it in the BIOS to install Windows 11.
Windows 11 is now official, Microsoft announced the new version of Windows last June 24, and a possible release is expected by the end of 2021. However, the issue of minimum requirements has been a bitter one for many users who seem to be being left out of the upgrade, and one of the ones that are leaving more people out is the existence or not of something called TPM 2.0 on their computers.
Thanks to Microsoft’s free tool that is now available to check if your PC will be able to upgrade for free, users can get a one-click answer to the big compatibility question. The problem is that the tool is giving wrong information in some cases, and the other problem is that it doesn’t tell you exactly which requirement(s) you don’t meet.
What is TPM?
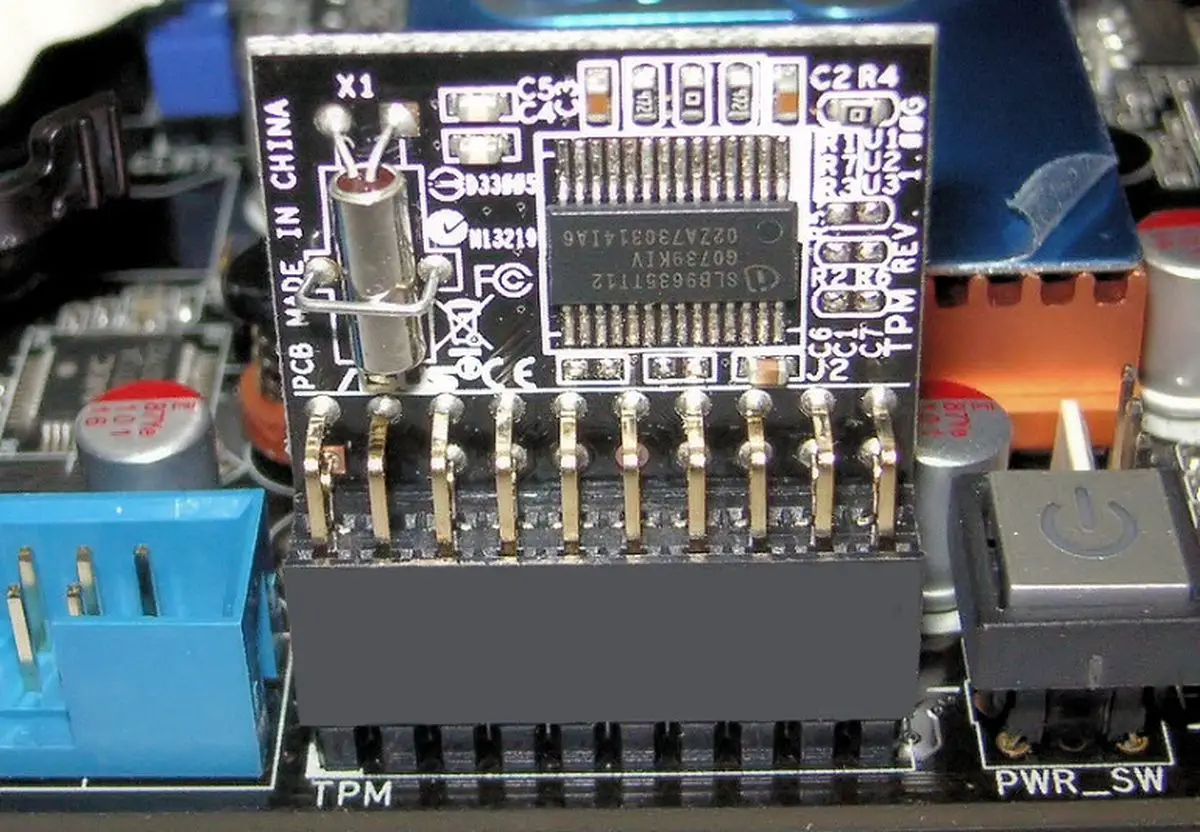
TPM stands for Trusted Module Platform, a technology designed to provide security features. TPM is a chip designed to perform cryptographic operations that includes several physical security mechanisms that make it tamper-resistant. It has specific security features to prevent malicious software from tampering with your system.
What is TPM 2.0?
TPM 2.0 is the most recent version of the specification and is the one that Microsoft lists on its website as a minimum requirement. However, it has been noted that this is a strict requirement, and using TPM 1.2 falls under the “soft” requirements. What this means is that if your device meets the soft requirement, you will receive a notification that an upgrade is not recommended, but you may be able to upgrade.
This TPM for security sounds great in theory, and the best part is that as David Weston himself, director of the enterprise and operating system security at Microsoft, explained, is that almost every CPU in the last 5-7 years has a TPM.
The catch is that not all computers that have TPM have it active (don’t ask why), and this is one of the reasons why so many computers less than seven, five, four, or even two years old are showing up as not compatible with Windows 11. Or, maybe you have TPM but it’s version 1.2 and not 2.0, and Microsoft’s tool looks for compatibility strictly with version 2.0.
How do I know if I have TPM active?
Checking if you have TPM is very simple. Just open Windows Security: open the Start menu, type “Windows security” and press Enter.
In the Security, window selects the Device Security option to see what type of security is built into your device. If you have TPM, you will see a message informing you about Security Processor, and if you click on Security Processor Details, you will be able to see the version you have.
If this does not appear on your screen and instead you see a message saying Standard hardware security not supported, this means that either TPM is not active on your computer or your CPU simply does not have the chip, so you will need to go to the next step.
How to activate TPM from the BIOS?

Depending on your CPU, as explained above, it is quite possible that your computer has the TPM module but it is inactive. Enabling TPM can mean that your computer will be compatible with Windows 11 instantly, so you may want to do so.
To access your PC’s BIOS the process is almost always the same: reboot your computer and before Windows boots, press the DEL or DEL key to access the options. This may vary depending on your motherboard, but you will always see a brief on-screen message with boot options and which key to press.
Once in your BIOS/UEFI, you will have to go in search of certain specific security options which also vary a bit depending on the manufacturer. Some BIOS/UEFI are in English, so we will give you instructions in that language:

- In ASUS: go to Advanced options and find the Trusted Computing section. Enable TPM Support by changing the status from Disable to Enable. Save the changes and reboot.
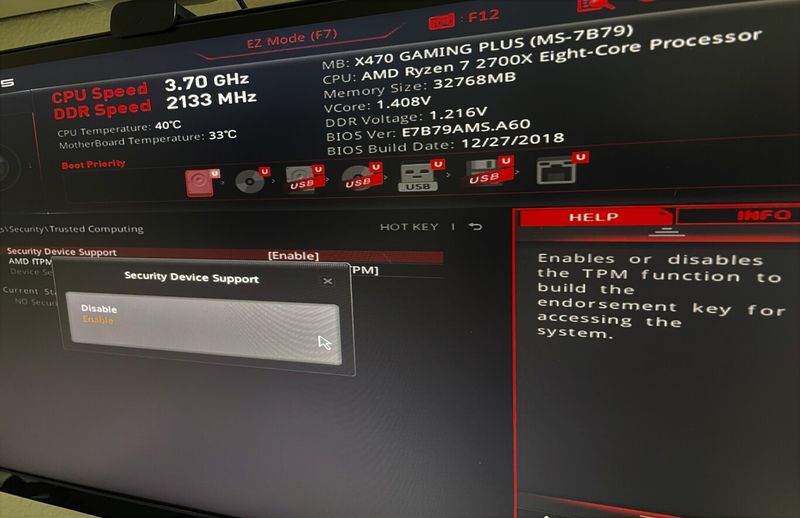
- In MSI: go to the Advanced options and find the Trusted Computing option. Enable TPM by changing the Security Device Support option from Disable to Enable. Save the configuration and reboot.
- In Lenovo: go to the Security menu and navigate to the Security Chip Selection option. There you should choose the Intel PTT or PSP fTMP option if you have an AMD processor. Save the changes and reboot.
- On HP: go to the security options and enable TPM by changing the TPM State option to Enable. Save the configuration and reboot.
- On Dell: go to the security options and find the Firmware TPM option and change from Disable to Enable. Save the changes and reboot.
How to enable TPM from the Local Group Policy Editor?
It is also possible to activate TPM from the Windows Group Policy Editor, for this you need an Administrator account.
- Press Windows key + R
- Type gpedit.msc in the box and press Enter.
- In the sidebar of the Editor, window navigate to:
- Computer Configuration > Administrative Templates > Windows Components > Bitlocker Drive Encryption > Operating System Drives.
- Double-click on Require additional authentication at startup.
- In the next window check the Enabled box, click Apply, and then OK.
If you have successfully enabled TPM on your computer, you can now re-use the Windows 11 check tool to find out if your computer is compatible. If despite having done this, the compatibility problem persists, your computer may have a processor that is not supported, or that you are a false negative. You will have to wait a few days for the new version of Microsoft’s tool to check again.


