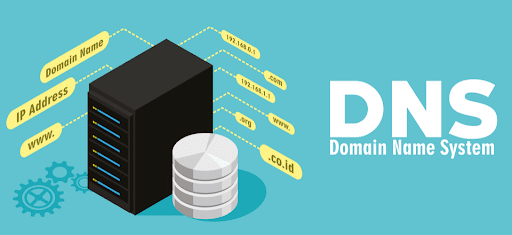
If you don’t know How to change the DNS, it is a really easy task both on Windows and macOS, today we are going to help you out. There are three main reasons why you should change the DNS server of your local network or of your connected device, to optimize the connection, to make it more secure against external attacks, and to control accessible content.
If it is important for you to know that your network is secure and reliable for professional reasons, you may want to change your DNS. It really is an easy task, doesn’t matter if you have a PC or Mac. We are going to explain all of it.
How to change the DNS on Windows and macOS?
Windows

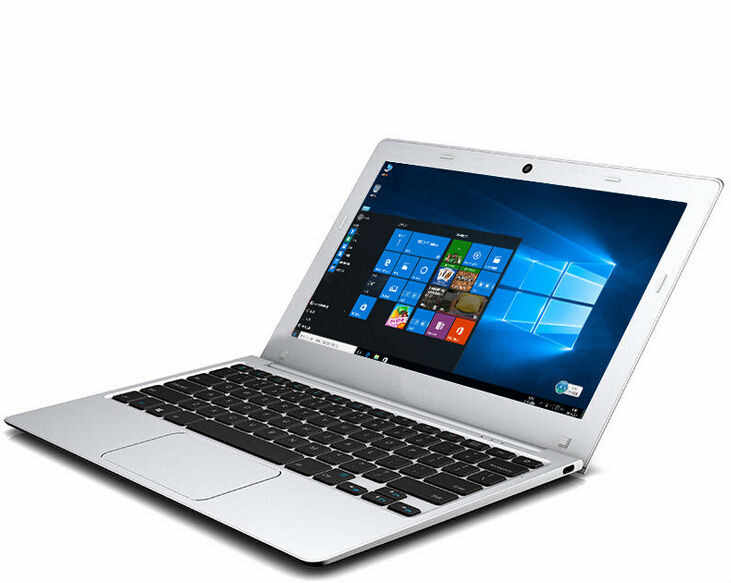
Regardless of the version of Windows you have, the Control Panel is still the preferred place to make advanced changes to your PC. From the Control Panel, we go to Network and Internet, then click on Network and Sharing Center and then enter the Change adapter settings. We select our main connection path, which is usually a Wi-Fi network, right-click, and click on Properties.
From the list of available options, we choose Internet Protocol (preferably version 4 and, just in case, also version 6). In the Properties, we assign the DNS servers that we want to use. After clicking OK, you just have to close and reopen the web browser to enjoy the your new DNS.
macOS

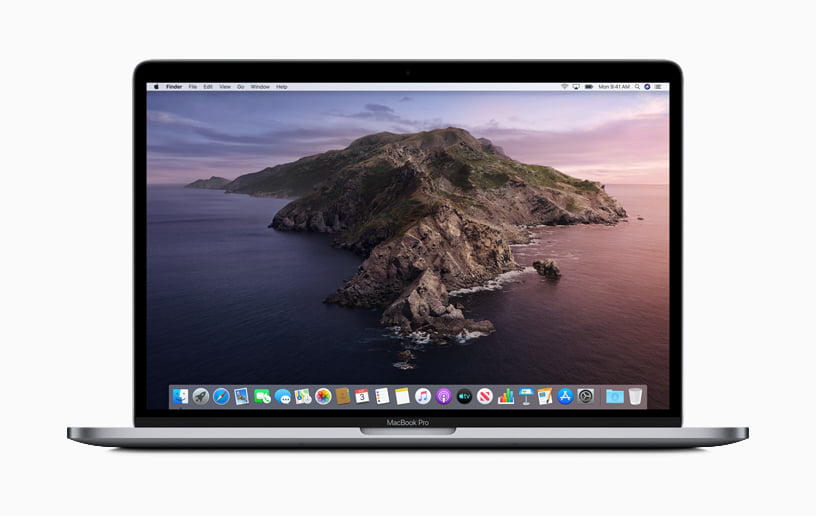
If Windows has the Control Panel, macOS has System Preferences. From System Preferences, you can search directly for DNS Servers or go to Network, select your main connection, click on Advanced, and then enter DNS.
Where it says DNS Servers we can add new addresses by clicking on the + symbol. Then click on Accept and Apply and that’s it.
How to change the DNS from a router?
Instead of manually configuring each device you use to access the internet, you can save time and effort by configuring the router.
Specific options may vary between models, but there are common details. The main one, that you have to access an IP to see the administration panel and indicate your administrator credentials. The default IP is usually “192.168.1.1”
Once we are in, we will have to look for the section dedicated to DNS or DNS Servers. As in Windows or macOS, you can assign a new DNS within this section.


